
- 5 color pack of card stock paper in the colors of the party.
- A circle punch.
- 3M Multi-Purpose spray Adhesive
- A bottle of Elmer's glue
- Small Formula Cans (12.9 oz)
- Scissors
- Ruler
Take a formula can and strip off the label, I kept the lids for some other project and threw away the scoops. Wipe the inside clean.
Take a piece of card stock and wrap around the can just under the silver lining. Make two small marks inside the lining otherwise the paper won't look right. Lay the paper flat and using a ruler draw a line, mark to mark and cut.

It should look something like this. But notice the big gaping hole? Just measure a small bit of the remaining paper to fill that in. This is a good time to use your cut paper as a template for however many cans you are going to decorate. Please ignore the uneven cutting I made on this example can. I forgot to take pictures while I was making them originally.

 Spray the card stock lightly to make it tacky, on the side you see the cut marks on, and immediately apply to the can. Do the same for the filler piece or just use Elmer's glue.
Cut out your dots in different colors and glue all over. You can use dots of different sizes to make it look silly and fun. Or cut the punched out circles into spirals?

I had two "rules,"the can couldn't have dots the same color as the background color and at least 2 dots had to be cut and glued on to it so it looked as if they were continuing off the edges. I used between 11-14 dots per can.
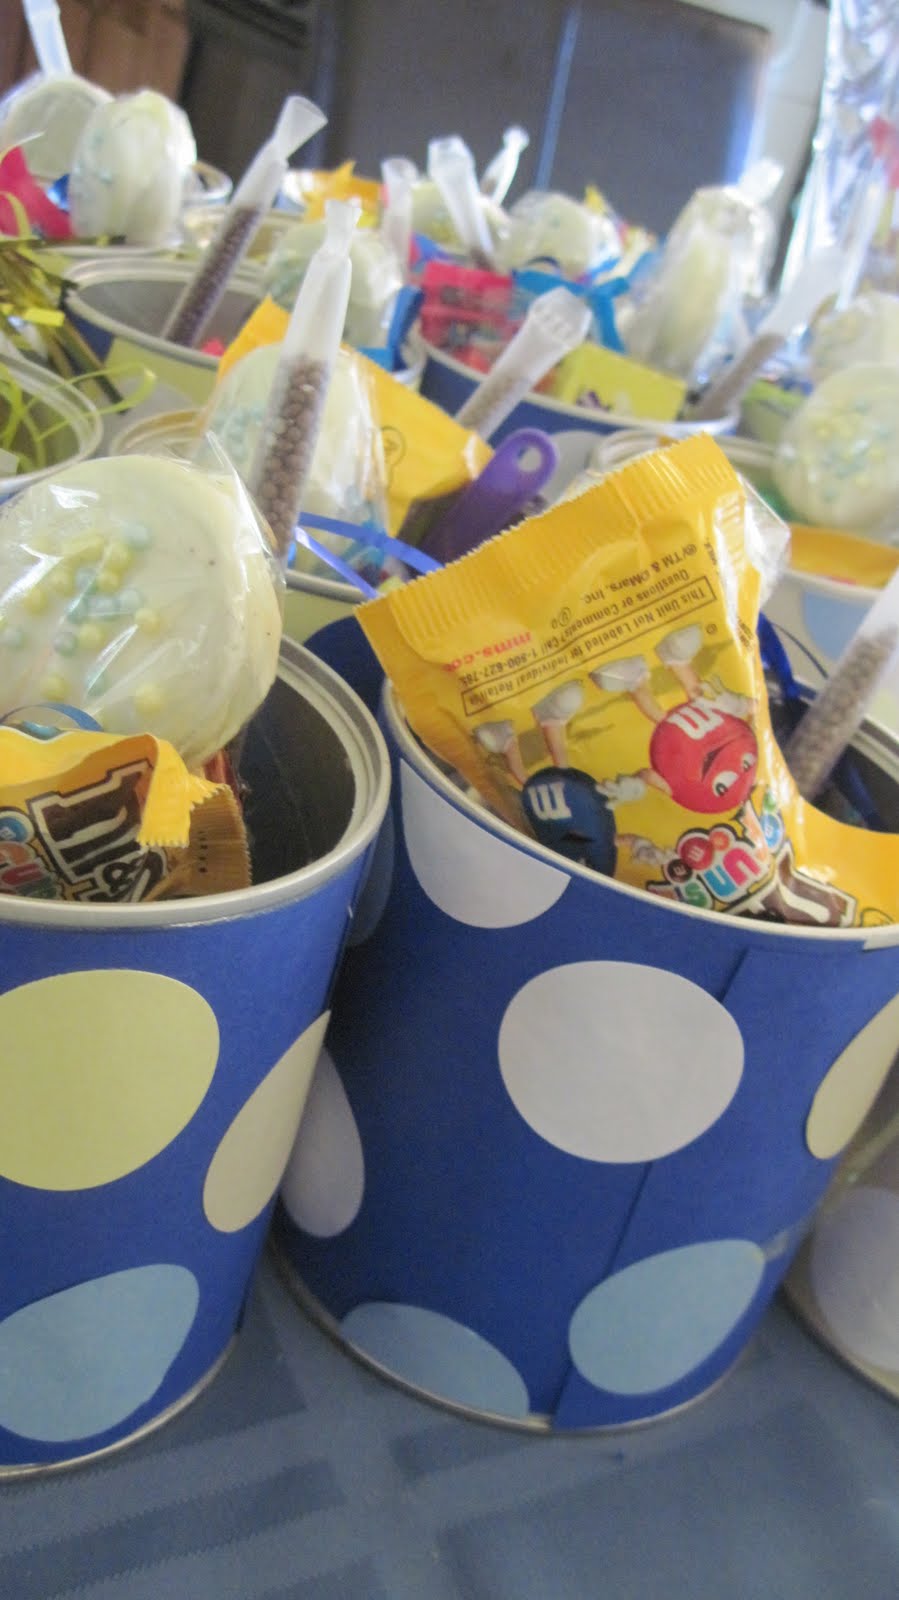
The party cans I had are filled with yellow Easter grass, candy (the good kind!), homemade chocolate covered Oreo's, squirt guns, noise makers, and magic straws!
When all the goodies are gone, these cans can be used for other purposes in the home and our guests will always remember the fun they had.
No comments:
Post a Comment