Showing posts with label kid-friendly. Show all posts

Friday, August 3, 2012

Chai Banana Fritters

If someone asked me earlier what a fritter was, I couldn't tell you. But after going to the fair and seeing people just raving about how yummy they were I decided to try my hand at it.

I had to look it up. Thanks Wikipedia! :A fritter is any kind of food coated in batter and deep-fried.

Ok...sounds like a doughnut...sounds like sweet and sour pork...sounds like fish and chips from a restaurant... I have been eating "fritters" for a long time and didn't even know it!

In my fritter experiment I had some ripening bananas on my shelf so I went with banana fritters. But that sounded too plain so I threw in my favorite spice combo: Chai. I also don't stay restrained to keeping the food whole, as traditional fritters are. I mashed these bananas up for a uniform flavor.

Result: These reminded me a lot of Chinese doughnuts, but better! Chai Banana Fritters melt in your mouth with a fresh taste from the bananas on a sinful backdrop that only fried food gives.


Chai Banana Fritters                                            Serves 4, 4 fritters each
                                                                                                   Time: 20 mins

4 medium ripe bananas (black on the outside and mushy inside is perfect)
1 c flour
1/4 tsp cinnamon
3/4 teaspoon baking powder
2 chai tea bags, open bags and empty contents
1 tbl sugar
1 teaspoon of salt

Oil for frying
2 tbl sugar for rolling

Optional:
2 tbl coconut milk+1 tbl flour for added sweetness, roll in coconut shavings.
Caramel sauce, topping
1 tbl hot chili powder


1. Mix dry ingredients in a small cup or bowl.
2. Mash bananas into a pulp; I left mine a bit chunky. Mix four into bananas until you get a thick batter. 
3. Heat vegetable oil in a deep pan or wok (about 2 in) to medium heat. To make sure that your oil is hot, drop a quarter teaspoon from the batter in the oil, when it sizzles your oil is ready.
4. Using a tablespoon or a cookie scoop, scoop batter and drop 3-4 spoonfuls slowly into hot oil. Fry and turn until golden brown. Drain on paper towels.
5. Repeat until batter is gone. You will make approximately 10-12 fritters depending on the size spoon you are using. Roll warm doughnuts in sugar or dust with confectioners sugar. 
 
Serve with your favorite ice-cream or enjoy alone.

Calories Calculated using Sparkrecipes Calculator: 245.1 calories per serving. This calculation is made with the assumption the reader will roll the fritters in sugar, it does not include calories of oil absorbed during frying. 

Friday, February 24, 2012

Carrot Pancakes


I don't know about you, but I have a picky almost 3 year old here at my house. He runs at the sight of anything "veggie" among other things. So this mommy has to be creative when sneaking in those good for you foods, cause with this child it's his foods or starve himself, there is no in-between!

After a long day at work I almost gave in and went to make something fast (ex: hotdog or macaroni) but I thought, "well why not try scrambled eggs with veggies again, maybe he'll like it this time. If not I can always make pancakes and I know he'll eat that." DING! Veggies in the pancakes too!

These pancakes turned out so good. Even the skeptical people in the house that laugh at all my attempts to feed my son healthy food and being turned down each time thought these were great and proceeded to eat 3 of them (without syrup I might add). 

Give these pancakes a try. They stay true to the classic pancake fluffiness and have a yummy suggestion of being a close cousin of the carrot cake family. 


Carrot Pancakes                         makes 20 small pancakes

1 1/4 c Flour
2 Tsp Baking Powder
1/2 Tsp Saigon Cinnamon
1/4 Tsp Salt
2 tsp wheat germ (optional)
4 tbsp Brown Sugar
3/4 c Buttermilk
1 tbsp Vegetable Oil
1 tsp Vanilla
2 eggs
1 c Carrot, shredded fine (about 1 large)
butter or non stick spray

1. Place the first five ingredients in a bowl and stir to combine.
2. In another bowl, place remaining ingredients (yes the brown sugar goes here we want to dissolve it) and mix.
3. Add the dry ingredients to the wet and mix.
4. Heat a large skillet over medium heat and lightly coat with butter or spray oil.
5. Spoon one heaping tablespoon of batter onto the skillet and cook for about 2 minutes or slightly bubbling around edges, flip and cook until both sides are golden.
6. Eat! These pancakes are delicious all on their own, or serve with maple syrup.

Calories calculated using Sparkrecipes calculator: 170 calories per 3 pancakes 

Sunday, November 27, 2011

Flourless Peanut Butter Cookies

I really should call this recipe, my "2^5th Power Peanut Cookies."

The other day I felt like baking and was taking requests, someone in my family asked me for peanut butter cookies AGAIN. I love that my family love my baking and wants them again and I admit, peanut butter cookies are great, but I really dislike making the same thing over and over again.

So, with permission for creative license, I decided to make gluten free peanut butter cookies with ganache toppings.


Yum!

Flourless Peanut Butter Cookies                 Makes 24
adapted from Women's Day

2 cups creamy peanut butter
2 cups packed light-brown sugar
2 eggs
2 tsp baking soda
2 tablespoons peanuts, coarsely chopped

Ganache
1⁄2 cup heavy cream
1 cup bittersweet
chocolate chips
Garnish: chopped peanuts


1. Heat oven to 350ºF. Beat peanut butter, brown sugar, eggs and baking soda in large bowl until smooth and blended. Stir in chopped peanuts.

2. Drop rounded tablespoonfuls 2 in. apart, onto ungreased baking sheets. use the back of your spoon to slightly press cookies down. Bake, one sheet at a time, 10 minutes or until cookies are puffed and slightly golden. Cool 5 minutes on baking sheet; remove to wire racks to cool completely.


3. Microwave cream in glass bowl on high 1 minute or until it just begins to simmer. Add chocolate chips; let stand 2 minutes. Stir until chocolate is melted and smooth; spread over half of cookie top and sprinkle with chopped peanuts. Or fill a squeezable bottle with ganache and drizzle, sprinkle with peanuts, then drizzle again.


Note: If ganache begins to firm up, microwave a few seconds at a time until easy to spread. Let set at room temperature. Ganache will take a few hours to set up. It's best to let them sit for 4+ hours then serve.

Calories calculated using Sparkrecipes Calculator: 237 calories per cookie

Monday, November 21, 2011

Pizza Dough

If you have never made homemade pizza, this should be one of your top things in your home to make homemade. I've seen women bloggers out there making their own vanilla extract, yogurt and everything in between, so why not more pizza? 

What seems like a speciality food only professionals can do is not true. You CAN do this!


Homemade pizza is always outrageously delicious. It does not take a lot of your time, total of 2 hours prep/cooking (if your making a meat topping, less if it's all veggie). Plus, it's a fun family project to do together. I had kids of all ages helping me and sure enough, everyone gobbled this pizza up like it was going out of style. Even those kids that cringed at the site of anything green, they ate it, spinach and all.

To make a good pizza, you need to start with a good crust.


Pizza Dough                                        Serves 4

2 1/4 tsp active dry yeast
1 c water, (105-110 F for active dry)
2 1/2-3 c bread flour or all purpose flour
1 tsp salt
olive oil

1. In a small cup, dissolve yeast in water. In a large mixing bowl, stir together 2 1/4 C flour and salt. Add yeast and stir until smooth. Let the dough rest 10 minutes.

2. Knead the dough until the dough approximately 10 minutes until the dough becomes elastic and smooth. This dough will be soft and a little tacky, so resist the urge to add too much flour.

3. Place the dough back in the bowl, coat with a bit of olive oil and cover with a towel. Let rise in a warm place until doubled in size, approximately 1-1 1/2 hours.

4. Using a cookie sheet or pizza pan, roll out to:
  • 4- 4 in individual pizzas
  • 2- 8 in pizzas
  • 1- 14 in pizza
Pre-heat oven to 425F. Cover rolled out dough with a towel again and let rise 15 minutes for thin crust, or 30 minutes for a softer crust.

5. Top with your favorite sauce and toppings. Bake 10-15 minutes or until dough crusts are golden brown.


Pictured above, my pizza is mozzarella cheese, spicy sausage, onion, tomato, and spinach.

Calories calculated using Sparkrecipes Calculator: 348 calories for two slices 

Monday, November 14, 2011

Fajita Quesadilla

I can't underestimate how many times a week I could eat quesadillas, or overestimate how much I love eating them.

The simple quesadilla is my favorite food. It's fast, it's cheap, and so easy to make. Did I mention delicious? That should be the number 1 reason for eating anything!


This is the fajita quesadilla. I'm sure many people know how to make melted cheese between a tortilla. Really, that is like kindergarden type of meals.

But for those who want a delicious, step up the lunch scale kind of quesadilla, definitely try this next time.

I also want to add, this is a total party food. Its a definite crowd pleaser and can be easily made ahead and kept warm in the oven. Yum!


Fajita Quesadilla                                 Serves 4

4 large flour tortillas
3 tbl butter
2 cups 1% mozzarella cheese
1/2 red bell pepper, sliced into 1" strips
1/2 green bell pepper, sliced into 1" strips
1/4 large yellow onion, diced
1/4 cup chicken pieces (perhaps from a leftover whole chicken?)

1. In a small pan, melt 1 tablespoon of butter and sautee vegetables until tender, add chicken and cook until heated through.


2. In a large skillet, heat to medium. Butter one side of your tortillas and place in the skillet, butter side down. Fill one side of the tortilla with half the cheese and sauteed vegetable mix. Top with a little more cheese if desired.

This is my 2nd quesadilla, you can see the 1st one under the top one.

Fold over other side of the tortilla. If you are making two and have enough room, butter and add your tortilla repeating the steps to fill, and fold. Cover with a lid and let cook for 2 mins.


3. Remove the lid, with tongs flip the quesadillas, recover and cook an additional 1-2 mins. Move to a cutting board and let sit for 1-2 mins to let cheese settle.


4. Slice into triangles and serve with sour cream and salsa for dipping.

Calories calculated using Sparkrecipes Calculator: 348 calories per serving

Tuesday, November 1, 2011

Soft Pretzels

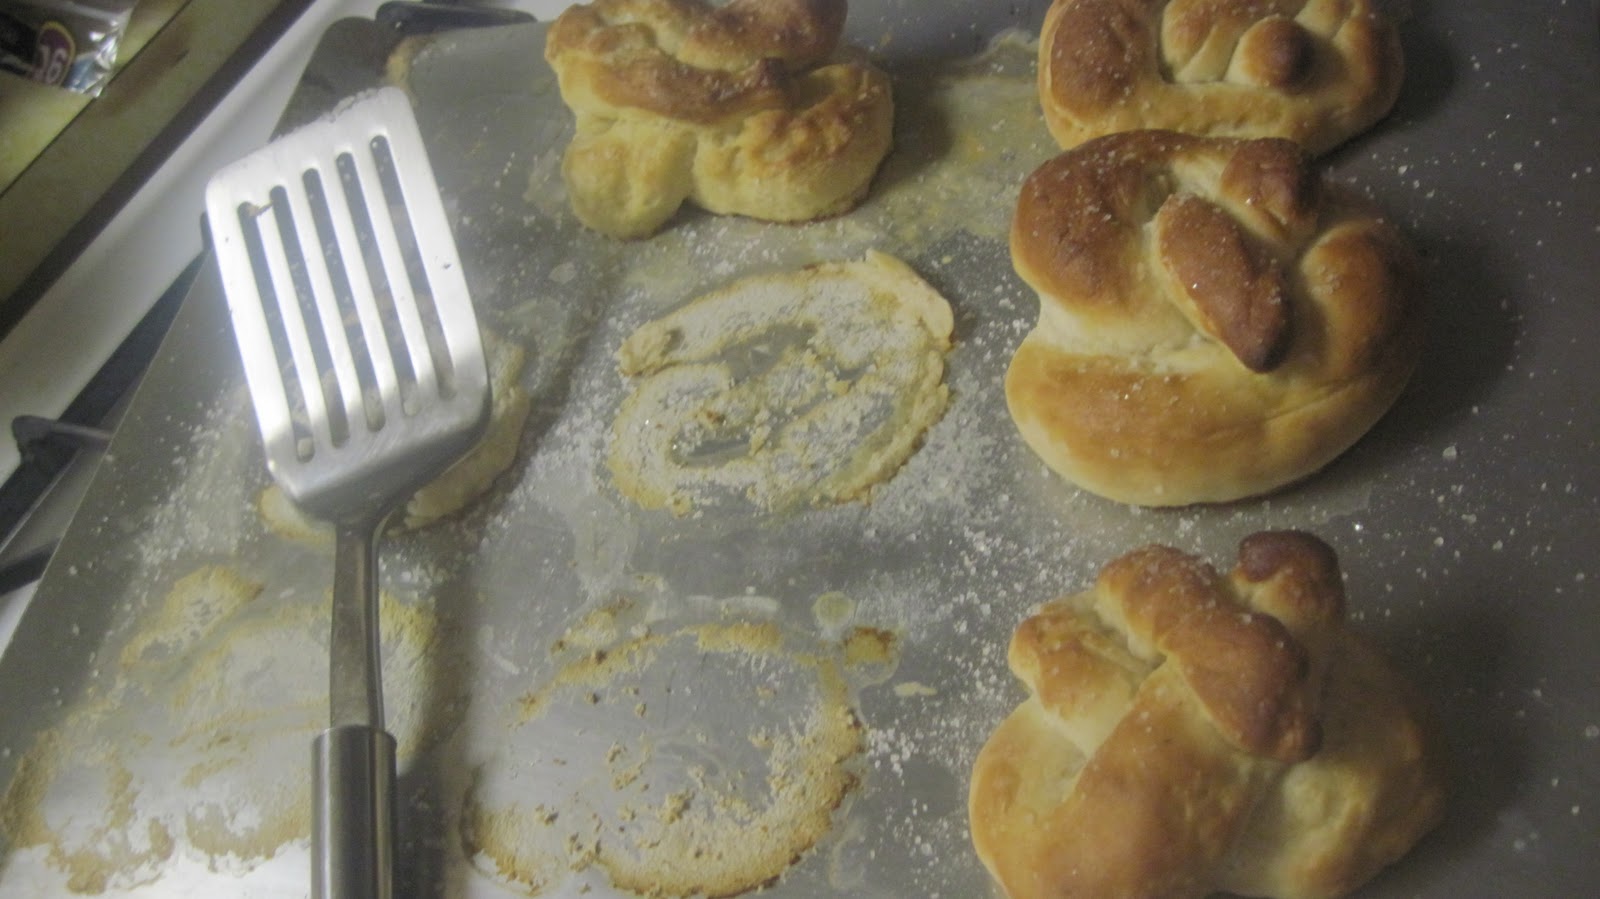
Last night I was bored and was in one of those snacking moods. But because I'm trying to be good, I make snacking harder to do. I don't just grab anything, I make myself make my snack and perhaps in the process I won't think it's worth the effort and will give up.

Well I got in my mind I wanted one of those big, soft pretzels with a sprinkling of course salt (yum!), so I set out how to make them.

I looked at a few recipes and modified them to make my own, and let me tell you, these pretzels were worth the effort. Even if you're not familiar with how to make bread, these are relatively easy to make and they turned out delicious.

I would love to make these again with my nieces. It's like working with playdough and you can make any fun shape you want!


Soft Pretzels                          Makes 10-15

1 1/2 cup warm water
1 1/8 tsp. active yeast (1 1/2 pkg)
2 Tbs. brown sugar
1 1/8 tsp. salt
1 cup bread flour
3 cups regular flour
2 cups warm water
2 Tbs. baking soda

To taste coarse salt
2−4 Tbs. butter (melted)

1. Sprinkle yeast on lukewarm water in mixing bowl; stir to dissolve. Add
sugar, salt, and stir to dissolve; add flour and knead dough until smooth
and elastic. Let rise in a warm place at least 1/2 hour.

2. While dough is rising, prepare a baking soda water bath with 2 cups warm water and 2 Tbs. baking soda. Be certain to stir often.

3. After dough has risen, pinch off half a handful or more of dough and roll into a long rope (about 1/2 inch or less thick) and shape. There is a great tutorial here on how to get that classic twist shape. Dip pretzel into soda solution and place on greased baking sheet. Allow pretzel to rise again.


4. Bake at 450F for about 10 minutes or until golden. Brush with melted
butter and enjoy!


Toppings:
After you brush with butter try sprinkling with coarse salt. Or try melting a stick of butter in a shallow bowl (big enough to fit the entire pretzel) and in another bowl, make a mixture of cinnamon and sugar. Dip the pretzel into the butter, coating both sides generously, then dip into the cinnamon mix. Let dry and enjoy.

I woke up this morning to find this. I guess someone else liked these too!

Monday, October 31, 2011

Grateful Praise

Tomorrow is November 1st and Thanksgiving is just a few short weeks away. This time we try to slow down as the holidays make everything speed up and soon we find ourselves caught in the hustle and bustle and as we leave a shopping mall, arms full of shopping bags and a gaping hole in our already meager bank account, sometimes we need a reminder as to what is really important.

A sweet campaign has started a few years ago, where you challenge yourself to read psalm 100 and HUNDRED times before Thanksgiving. It's a wonderful way to memorize a memory verse with your family and give you a reminder of what is really important.

We are chosen people, loved people, and we should be thankful for all of our blessings and make a joyful noise because we know it!


Here is a free pdf of the picture below for you to download so you can have a visible print out to hang up in your home.

Sunday, October 30, 2011

Pumpkin Party

Fall is here and it's the perfect time to get your friends together; have great food and enjoy each others company.

I have what I have so lovingly call "The Party Curse." See I love to entertain and host, but the people I invite either end up going out of town, family matters, or my party coincides with flu season (even my own wedding was sparse!)

Alas, the same thing happened this time. My best friend, her sister, and her daughters came, which was great, but not what I had planned for.

So, here is my party set up to help give ideas if anyone else is thinking of throwing a Pumpkin Party next year. Who knows? Maybe I'll put myself through this again and it will be different.

Pumpkin Party Intimate Get Together 2011


Decorations

I borrowed a long table from my local church and set up two working tables, one for adults/older kids and one for younger kids.

I had a left over tablecloth roll from my sons birthday so I covered all the tables in that. My mom is a teacher so I went to her school and took about 6 feet of orange paper. I cut that to make a runner to go down the middle of the table. Then I had two pumpkin luminaries which I placed pumpkin carving tools inside.


I also had two bowls available for pulp and seeds.


The kids table was my sons work table, covered with table cloth. I set out tempera (washable) paints, brushes, disposable plates and some push in decorations for the non-carving table. 

The backyard so far...


Besides the tables I also made a pumpkin pennant which I posted about here, and these adorable corn husk pom-poms


I got this idea from one of my favorite blogs CentsationalGirl, she gives a good tutorial on her page here.


Food

The party was in the afternoon, so I only served munchie foods.

Dish 1: Apple slices and Pumpkin Dip. 
The apples were served with the cores cut out using a mini cookie cutter. Served alongside with a pumpkin dip. This went the fastest, between my family coming by and munching, I was out of apples and dip :) 
I got about 5-6 slices from each medium fuji apple, then they took a bath in some pineapple juice. I wrapped them up and put them in the fridge a few hours before the party.

Pumpkin dip
8oz cream cheese
1/4 c brown sugar
15 oz pure pumpkin
spices to taste (ginger, cinnamon, cloves)

Cream together ingredients until smooth, place in serving container and chill at least an hour before serving. Also great with gingersnaps, carrot sticks and honey pretzels.


Dish 2: Veggie Tray. Easy. Simple.


I took a wide, clear platter and spread out a 16oz bag of baby carrots. Sliced up some cucumber eyes, a celery stalk for a stem and snap peas arranged in the shape of a mouth.

Dish 3: Pumpkin Empanadas


I made these about 2 weeks ago and just popped them into the freezer. I took them out the night before and they were just as good. I'll post a recipe for these soon.

Dish 4: CROQUEMBOUCHE
or literally, “crunch in the mouth”. This piece is the traditional wedding cake in France, and is often served at baptisms and communions as well. The classic piece montée is a high pyramid/cone made of profiteroles (cream-filled puff pastries) sometimes dipped in chocolate, bound with caramel, and usually decorated with threads of caramel, sugared almonds, chocolate, flowers, or ribbons.

I had been waiting to do something big and fun and DIFFERENT, so I attempted the CROQUEMBOUCHE (I love saying it). I filled mine with a custard, which is traditional for most creme filled desserts, and of course mine had to be pumpkin for my pumpkin party. I found a pretty good recipe here.

I doubled my recipe and made two batches, one of just pumpkin and one of pumpkin-chai (this one is a winner). I'll post a recipe of my adventures in this piece later too.

Snack Table
Games

Because the bulk of the party I figured was going to be for carving pumpkins, I didn't want to go overboard by planning a lot of games. But I did make one easy one, kids of all ages enjoy (even if they say they are too old for those kid games).

Pin the Nose on the Pumpkin


I bought a poster board from the dollar store and cut out a pumpkin from the orange paper I brought home from school. Then out of black card stock I cut out a mouth and eyes then made about 12 noses or so (more or less depending on how many kids are playing). Keep a blindfold or a sleeping mask handy and you're ready to play.

What does the winner get to take home?

This Pumpkin trophy!

Ding! Ding! We have a Winner!

I bought a small fake pumpkin at Micheal's Crafts and carved "Winner" into it, then filled it with candy. I love it. It's a memorable prize and it's a pumpkin!

Because I only had two kids at the party (my son and my friends daughter, both 2 yrs old) I gave my game and prize to my mom who is a teacher so she can use it in her classroom on Halloween.

Goodie Pumpkins

Finally, before everyone leaves, they were to take home a goodie pumpkin basket. I found these babies at a yard sale, I grabbed all 20 for $5!

Each one was to be filled with some candy, a pumpkin scented candle (dollar store) and....


Once everyone gutted their pumpkins and they gave me all their seeds, I was going to wash, dry, spice, and bake them while they carved their pumpkin faces. Then I had some small candy wrappers on hand to wrap them up so everyone could take home a pumpkin treat from their own pumpkin!

I thought it was a nice personal treat. Alas, my friend who did come didn't want her seeds so I still have them. I'll post that recipe later.

At the end of the day, I was tired; but I had this to show for it.


In some small way, it's goofy, smiling face makes me feel better about my "party curse." There is always another holiday or birthday to plan for and get together.


Monday, October 24, 2011

Simply "Batty" Halloween

So this year I'm not really feeling the Halloween "vibe." I usually don't decorate for Halloween anyways, just a seasonal Fall kind of decorating that I can leave up September through November.

This year I was inspired to do a bit more. Keeping it simple and still nature inspired. I also needed a spash of something to welcome my guests for my upcoming Pumpkin Party.

I have to say, I love this a lot. It was also a lot of fun to see cars slowing down as they drove by to look at it.

Inspiration came from MADE and Country Living (they used stiff felt, if I could afford it, so would I)
please ignore my awful landscaping

Total cost of project: $4.80

Halloween Bat Decoration

Materials:

Black 8 1/2 x 11" Cardstock
Bat Template
Sharp Scissors
Glue Dots or scotch tape
Preserve-It (Krylon) -Optional

1. Take tracing paper and enlarged the bat, 100%, 75% and 50% tracing it each time (paper against the computer screen) to get three different sizes.

2. Cut out templates and fold a black piece of paper in half. Hold one of your templates over the folded side of the paper and just cut around the pattern, don't bother tracing at all. No one will know if they are not perfect.

I am against wasting paper. I just can't do it, so I used as much space as I could on each sheet. I got 8 bats out of the small, 6 from the medium and 3 from the large.

Half my bats were traced on the UNFOLDED side, making them two pieces. I was OK with that. I played around and liked how the pieces also looked like bats flying and not just the part of a wing.


Some of the pieces I doubled up when hanging, so in the end had 5 different looking bats!

3. Cut and cut until you have a nice variety of bats. My house took 100 bats or about 15 pieces of paper.


4. Once done cutting (or tired of cutting), pull out your glue dots, push and stick to any surface. These wonderful time savers are removable, but use common sense when hanging them.

5. For the pieces of bat wings, hold them to the side and see how they look like flying bats, or double them up and use one glue dot for both so you can see two wings. These are great filler space bats!


I bought some Preserve-It (Krylon) which is used to preserve photos and paper. I don't want to be cutting out bats each year! So I gave my bats a spray before hanging to give them a little defense against the evening dew and daytime humidity. I'll update on how they survived after Halloween (8 days away).

I hung my bats wanting them to look natural, flying in a smooth stream across my house. We have bats around here in California, but not the kind thay fly like these. Oh how I'd love to witness something like that!

Enjoy this project and have fun with it. You've got to love those easy, thrifty and big impact ones!

Friday, October 21, 2011

Rootbeer Marinade

I really have been enjoying this "take anything you have in your house and see what you can come up with for dinner" plan. Tonight, I was planning on making fajitas.

Let me begin this post by saying, I LOVE fajitas! I can eat them everyday if I was allowed. They are nutritious, simple, quick, and above all delicious! Plus, they fit perfectly into my no processed foods plan this month.

Well, tonight (last minute) I decided my good ole' fajita recipe wasn't going to do. I needed to mix it up a bit. My solution came with my next question.

What else was I in the mood for? Root beer! I had one bottle left of the best (I repeat BEST) root beer in the world. Henry Weinhard makes more then just beer, his root beer is amazing. I had planned on drinking my last one with my fajitas, but....

I thought, what the heck. People make marinades out of beer, why not root beer? So I made the sacrifice and shared my rootbeer for an experimental marinate.

I remember making root beer in Biology class. It was really fun and I remember discussing how the yeast will carbonate and fermentate the mixture giving it that bubbly signature.

Knowing this, I knew my meat would be nice and tender letting all those bubbles go to work paired with sassafras and sugar (yum!).

This is what I came up with. We enjoyed our dinner, fajita style.


Root beer Marinade
Weinhard bottle caps amuse me
1 Twelve Ounce Bottle Of Henry Weinhard's Root Beer
1/4 cup Teriyaki or Soy Sauce
1/2 cup Vegetable Oil
6 garlic cloves, minced
1 inch, ginger root, minced
1 tsp Black Pepper
1 tsp Crushed Red Pepper Flakes

2 lbs of skirt steak, boneless chicken or pork lion cut into 2 in strips


Fajita style serve with: 1/2 large yellow onion, 1 green and yellow or red bell pepper sliced and sauteed in a tsp of oil. Warm 6 in corn tortillas.


Instructions:
 
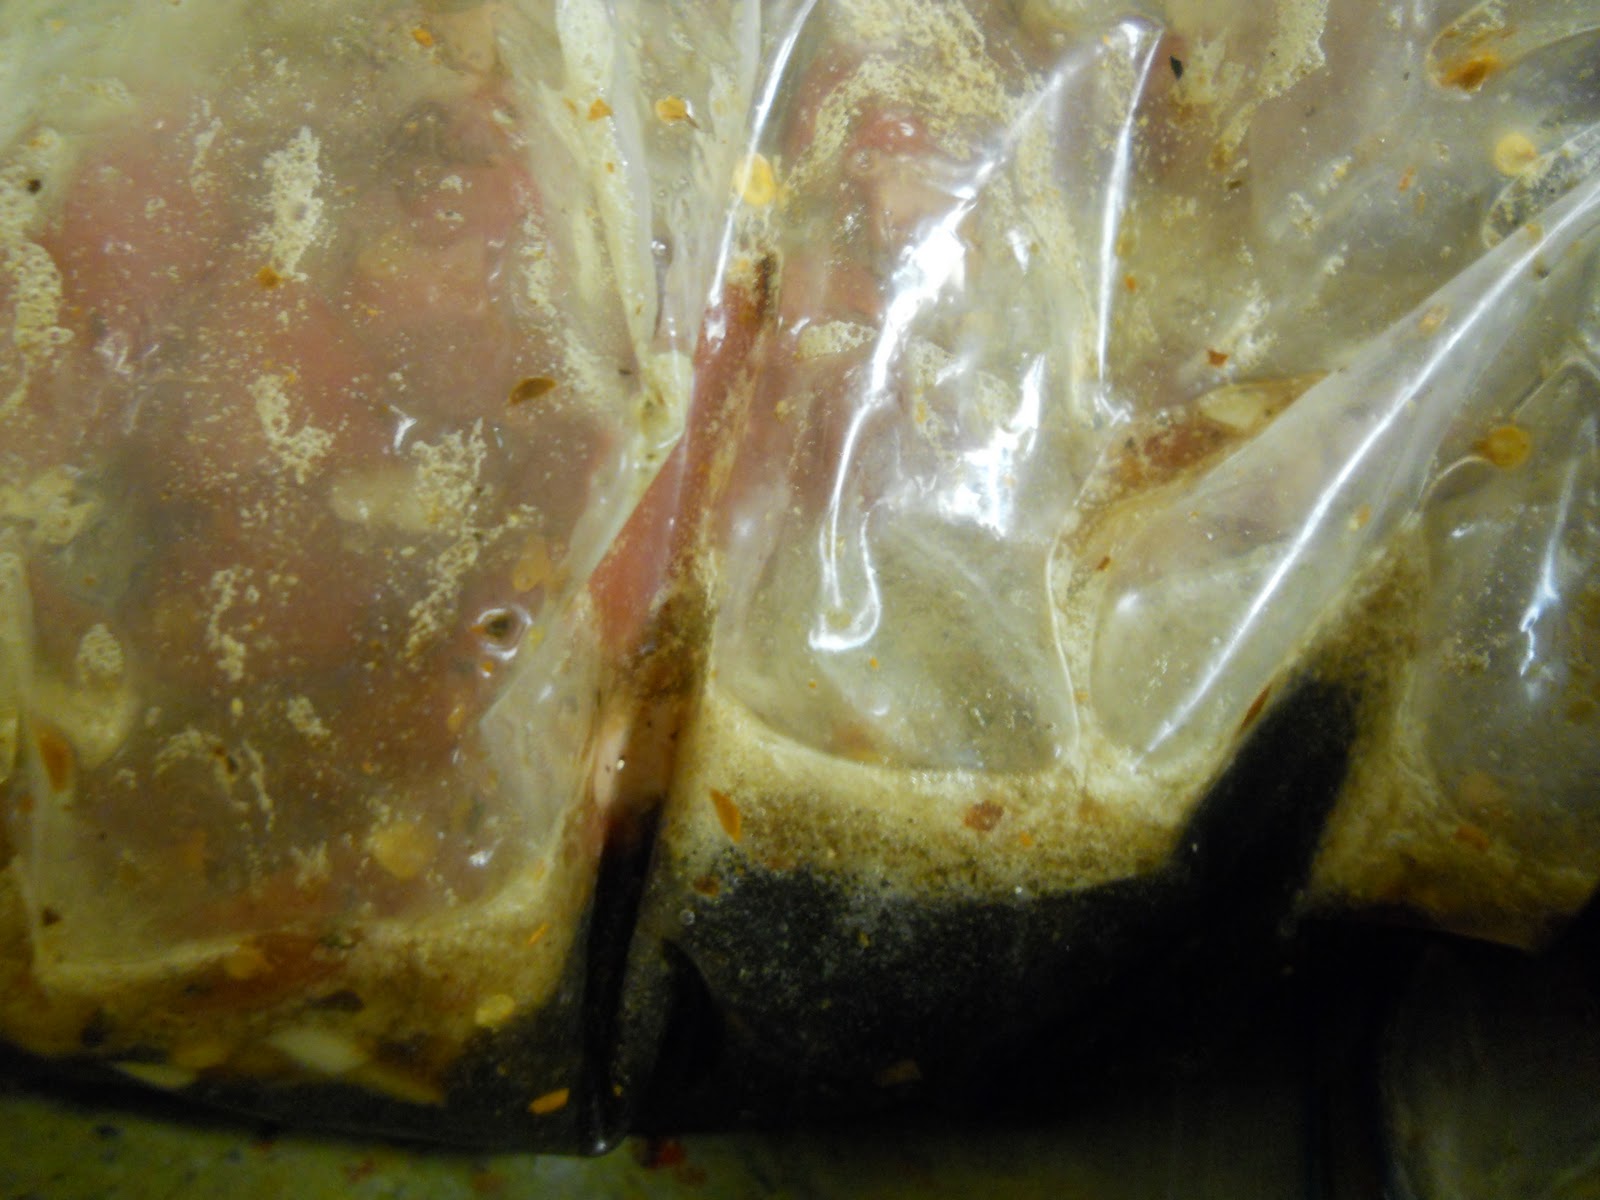
1. Get a gallon sized, plastic, zippable bag. Mix all the ingredients together. Add the meat and seal the bag. Mush it around a little and place bag in a medium sized bowl.
2. Let marinate 2 hours or overnight (I am a fan of overnight marinating)
mmm...foamy bubbles
3. Remove meat, grill, enjoy.
Obviously, I broke my no processed food rule with this marinade by including root beer. But you can always one up me, MAKE your own root beer!

Do it! And then leave me comments how that went, I'd love to know.

Thursday, October 20, 2011

Pumpkin Chai Ice Cream

I had some left over pumpkin from the pumpkin-lavender bread I made almost 2 weeks ago, and I needed to use it fast or I would lose it.

I had just made Lavender Ice Cream last night, so I thought I should use this pumpkin and make Pumpkin-Chai Ice Cream (it's more like soft serve since I'm not making it like real ice cream).

I have to say this ice cream is delicious. If your looking for a pumpkin ice cream recipe, this is it. Within 10 minutes half of my ice cream was gone after I gave some taste tests to my family!

They rated it "20 out of 2 thumbs up" :)

Pumpkin Chai Ice Cream
2 cups milk
1 tsp vanilla extract
3/4 c sugar
1 c heavy whipping cream
1 c canned pure pumpkin
1 tbl molasses
1/2 teaspoons ground cinnamon
1/4 teaspoon ground nutmeg
1/4 teaspoon ground cloves
1/8 teaspoon ground cardamom
1 bag of Vanilla Chai Tea (Bigelow)
Pinch of salt
1. In a large bowl combine the milk, sugar, vanilla. Stir until combined and sugar is dissolved. Mix in heavy cream. Cover bowl and let sit in the refrigerator overnight.

2. In another bowl combine pumpkin, molasses, salt, all the spices, and half the chai tea bag contents. You can add all of it, but I think it would be too strong. Mix well. Cover bowl and let sit in the refrigerator overnight.

3. When ready to make ice cream, mix the two bowls contents together and freeze according to your manufacturers instructions.
ten minutes later...

Wednesday, October 19, 2011

Pumpkin Patch

In case you havn't made it to the Pumpkin Patch yet this Autumn. Enjoy a look at my favorite locally grown and family run stand.

I love visiting this place during the year, especially in Autumn when there is such a wonderful vatiety of colors, sizes, shapes and textures to see.

The wonderful works of God.

Psalm 65:11
You crown the year with your bounty, and your carts overflow with abundance.