Showing posts with label Breads. Show all posts

Saturday, August 4, 2012

Homemade Tortillas (Roti)

Growing up in California, it is very hard to not appreciate the Spanish culture that has sprung up since the 1800's and the massive immigration of families, histories and foods that put in their deep roots.

Tortillas are my favorite staple. Something that I have to have in the kitchen at all times.

I love them as wraps, crunchy chips, crispy tostadas, sprinkled over soup, sopping up sauce from a curry...the uses are limitless.

Being the frugal girl that I am, I decided to finally attempt making these soft bad boys myself. It was a fun and scary evening.

After I had that childlike prideful moment of “look what I made!” I realized how easy these were to make and more flavorsome to boot!

I will definitely be investing in a tortilla press this year. Not that I mind my irregular tortillas, they still taste great.


Homemade Tortillas (Roti)                               Serves 4

2 cups all-purpose flour
1/2 tsp salt
3/4 cup warm water
1 tbl vegetable oil

1. In a large bowl, combine flour and salt. Stir in water and oil. Turn onto a floured surface; knead 10-12 times, adding flour or water if needed. Let rest for 10 minutes.

2. Divide dough into eight portions. On a lightly floured surface, roll each portion into a 7-in. circle.

3. In a large nonstick skillet lightly coated with cooking spray, cook tortillas over medium heat for 1 minute on each side or until light brown spots appear and they puff up slightly. Remove from the pan and keep warm. Repeat process with the remaining dough.

Calories calculated using Sparkrecipes Calculator: 258.4 calories per serving.

Saturday, July 28, 2012

Peach Cinnamon Rolls

A fresh swirl of peach in every cinnamon soft bite.


Peaches
1/4 c sugar
3-4 small peaches, skins removed

Rolls
3/4 cup milk
1/3 c melted butter
2 1/2 teaspoon yeast
1/3 c sugar
1 teaspoon salt
2 eggs
3 1/2-4 c wheat flour
Filling
1/4 cup butter
1/3 cup brown sugar
1/4 cup natural sugar
1 tsp cinnamon
1/2 tsp nutmeg, fresh grated or ground

Instructions

1. Chop up peaches, throw out the pits, and cook in a saucepan over med-low with sugar for 10 minutes or until peaches are soft and fall apart. Set aside to cool.

2. Heat milk (either in a sauce pan or microwave) until milk begins to simmer- add butter. Let cool until at warm temperature (about 120˚).
3. In a deep bowl, add milk mixture, yeast, and sugar. Let sit for five minutes to let the yeast do it's work. Add 3 1/2 cups of flour, salt, eggs, 2 tablespoons of the cooled peaches- mix until combined. Add the remaining flour, 1/4 cup at a time until the dough forms a nice ball and pulls away from the bowl. Turn out the dough onto a clean surface and knead the dough until smooth and elastic- at least eight minutes.
4. Grab a clean separate bowl, lightly spray the dough with cooking oil and place in a warm draft free spot until dough has doubled in size (around an hour and a half.)
5. Turn the dough out onto a lightly floured surface and roll out into a 10 by 14 rectangle.


6. Rub room temperature butter over entire surface and cover with sugar and spice mixture. Top with cooled peaches-reserve 2 tablespoons of peaches for glaze.
7. Carefully roll the dough into a log, some peach filling may want to fall out, just tuck it back in. Cut into 12-16 1 inch thick pieces. Place pieces, cut side down in a sprayed 9x13in pan. Cover with a clean towel and let rise in a warm place for another hour or until rolls are the size you like.

8. Preheat the oven to 350˚ and bake 20-25 minutes until cinnamon rolls are golden in color. Let cool slightly then slather on your favorite cream cheese glaze mixed with remaining cooked peaches.


Calories calculated using Sparkrecipes Calculator: 262 calories per roll (out of 12)

Monday, November 21, 2011

Pizza Dough

If you have never made homemade pizza, this should be one of your top things in your home to make homemade. I've seen women bloggers out there making their own vanilla extract, yogurt and everything in between, so why not more pizza? 

What seems like a speciality food only professionals can do is not true. You CAN do this!


Homemade pizza is always outrageously delicious. It does not take a lot of your time, total of 2 hours prep/cooking (if your making a meat topping, less if it's all veggie). Plus, it's a fun family project to do together. I had kids of all ages helping me and sure enough, everyone gobbled this pizza up like it was going out of style. Even those kids that cringed at the site of anything green, they ate it, spinach and all.

To make a good pizza, you need to start with a good crust.


Pizza Dough                                        Serves 4

2 1/4 tsp active dry yeast
1 c water, (105-110 F for active dry)
2 1/2-3 c bread flour or all purpose flour
1 tsp salt
olive oil

1. In a small cup, dissolve yeast in water. In a large mixing bowl, stir together 2 1/4 C flour and salt. Add yeast and stir until smooth. Let the dough rest 10 minutes.

2. Knead the dough until the dough approximately 10 minutes until the dough becomes elastic and smooth. This dough will be soft and a little tacky, so resist the urge to add too much flour.

3. Place the dough back in the bowl, coat with a bit of olive oil and cover with a towel. Let rise in a warm place until doubled in size, approximately 1-1 1/2 hours.

4. Using a cookie sheet or pizza pan, roll out to:
  • 4- 4 in individual pizzas
  • 2- 8 in pizzas
  • 1- 14 in pizza
Pre-heat oven to 425F. Cover rolled out dough with a towel again and let rise 15 minutes for thin crust, or 30 minutes for a softer crust.

5. Top with your favorite sauce and toppings. Bake 10-15 minutes or until dough crusts are golden brown.


Pictured above, my pizza is mozzarella cheese, spicy sausage, onion, tomato, and spinach.

Calories calculated using Sparkrecipes Calculator: 348 calories for two slices 

Friday, November 11, 2011

Lemon and White Chocolate Scones

One of my favorite flavors is lemon. In fact, I most often will choose lemon over any other flavor. There is something about it's taste that is both refreshing and soul warming.

It reminds you of the warm sun on a summer's morning and the refreshing scent that triggers our thoughts of clean homes and fresh produce.

My lemon tree is just exploding now (yay!) and I will soon have a lot of yummy lemon posts to share once I get around too it.

My kick start recipe? Lemon and White Chocolate Scones. Yum...  


Lemon and White Chocolate Scones            Makes 8

1 3/4 cups flour
2 teaspoons baking powder
1/2 teaspoon salt
1/4 cup sugar
1 teaspoon lemon zest
1/2 tsp lemon juice
1/2 cup (one stick) unsalted butter, cut into 1/3-inch cubes
3/4 cup white chocolate chips
1/2 cup buttermilk

1. Mix sugar and lemon zest with hands until aromatic. Combine the flour, baking powder, salt, and lemon-sugar mix. Add the cut butter and mix just until coated with flour. The butter chunks should be an obvious presence, let them not be less than half their original size.

2. Add the white chocolate chips. Stir gently.  Slowly add the buttermilk and mix until just absorbed. Stop mixing when the dough begins to pull away from the sides of the bowl.

3. Pre-Heat oven to 350F. Scrape the dough from the bowl and drop by rounded tablespoons.

4. For the classic scone shape, form the dough into a ball. Pat the dough into a 7-inch disk. Cut into quarters and then again into eighths. Set the scones on a baking sheet lined with parchment paper. Bake until golden brown, about 15-20 minutes. Drizzle with your favorite glaze. I used my leftover vanilla bean glaze from my pumpkin cinnamon rolls.


Calories calculated using Sparkrecipes Calculator: 255 calories per scone

Pumpkin Cinnamon Rolls

So in my annual hunt to find new recipes for one of my favorite flavors: pumpkin, I came across the simple idea of Pumpkin Cinnamon Rolls at Taste of Home.

It wasn't a new idea, but it just hit me, that I REALLY needed to make these. Have you ever had a recipe haunt you? Well this was mine.


I took my favorite cinnamon roll recipe, added a dash of pumpkin flavors to it and topped it off with a vanilla bean glaze....ooooh.


These are seriously dangerous. I won't make these unless it's for a crowd because these can VERY easily be gobbled up by one person. And if you are inviting me over, that one person will be me. ;)


Pumpkin Cinnamon Rolls          Makes 15-20 rolls

Rolls
3/4 cup milk
2 1/2 teaspoon yeast
1/3 cup  sugar
1 cup pumpkin
1/3 cup melted butter
1 teaspoon salt
3 eggs
4- 5 cups all purpose flour
Filling
1/4 cup butter
1/3 cup brown sugar
1/4 cup natural sugar
2 tsp cinnamon
1 tsp nutmeg, fresh grated or ground
1/2 tsp cloves, ground
1/2 tsp ginger, ground
Pumpkin Glaze
2 cups confectioner's sugar
1/4-1/2 cup milk
1/2 vanilla bean
4 oz cream cheese

Instructions

1. Heat milk (either in a sauce pan or microwave) until milk begins to simmer- add butter. Let cool until a warm temperature (about 120˚).
2. In a deep bowl, add milk mixture, yeast, and sugar. Let sit for five minutes. Add 3 1/2 cups of flour, salt, pumpkin, eggs and mix until combined. Add the remaining flour, 1/2 cup at a time until the dough forms a nice ball and pulls away from the bowl. Turn out the dough onto a clean surface and knead the dough until smooth and elastic- at least eight minutes.
3. Grab a clean separate bowl, lightly spray the dough with cooking oil and place in a warm draft free spot until dough has doubled in size (around an hour and a half.)
4. Turn the dough out onto a lightly floured surface and roll out into a 10 by 14 rectangle.


Rub room temperature butter over entire surface and cover with sugar and spice mixture (if it has the words sugar and spice in it, you know it's going to be good!). Roll the dough into a log. Cut into 12-16 1 inch thick pieces. Place in a sprayed pan. I would suggest a 9x13 pan. I myself don't have a pan that big, so I used an 8x8 and a 7x11 pan for 15 rolls.

5. To cook for breakfast the next morning: Cover pans with plastic wrap and place in refrigerator overnight. If you want to continue on, cover and let rise in a warm place for another hour and follow with remaining instructions.

6. The next morning, preheat the oven to 350˚ and remove cinnamon rolls from the fridge and let sit on top of the warm oven to warm and rise to the size you'd like. Mine took longer then I thought, about an hour.

7. Bake for 20-25 minutes until cinnamon rolls are a nice golden brown color. Let cool slightly.
8. While cinnamon rolls bake, take out a small sauce pan and pour in milk. Scrap seeds out of vanilla bean and add to the milk, add vanilla stem too. Cook on low, being careful not to let the milk steam or boil. When the milk begins to smell aromatic, like vanilla turn off the heat. Meanwhile, whip cream cheese until soft and creamy. Mix in sugar slowly until combined. Remove vanilla stem, throw away. Slowly add milk mixture to sugar and cream cheese.

9. Once rolls are out of the oven and while cinnamon rolls are still warm, spoon icing over the rolls. Enjoy while warm (as if there is such a thing as cold cinnamon rolls!)


Calories calculated using Sparkrecipes Calculator: 266.7 calories per roll, with two tablespoons of glaze on top

Tuesday, November 1, 2011

Soft Pretzels

Last night I was bored and was in one of those snacking moods. But because I'm trying to be good, I make snacking harder to do. I don't just grab anything, I make myself make my snack and perhaps in the process I won't think it's worth the effort and will give up.

Well I got in my mind I wanted one of those big, soft pretzels with a sprinkling of course salt (yum!), so I set out how to make them.

I looked at a few recipes and modified them to make my own, and let me tell you, these pretzels were worth the effort. Even if you're not familiar with how to make bread, these are relatively easy to make and they turned out delicious.

I would love to make these again with my nieces. It's like working with playdough and you can make any fun shape you want!


Soft Pretzels                          Makes 10-15

1 1/2 cup warm water
1 1/8 tsp. active yeast (1 1/2 pkg)
2 Tbs. brown sugar
1 1/8 tsp. salt
1 cup bread flour
3 cups regular flour
2 cups warm water
2 Tbs. baking soda

To taste coarse salt
2−4 Tbs. butter (melted)

1. Sprinkle yeast on lukewarm water in mixing bowl; stir to dissolve. Add
sugar, salt, and stir to dissolve; add flour and knead dough until smooth
and elastic. Let rise in a warm place at least 1/2 hour.

2. While dough is rising, prepare a baking soda water bath with 2 cups warm water and 2 Tbs. baking soda. Be certain to stir often.

3. After dough has risen, pinch off half a handful or more of dough and roll into a long rope (about 1/2 inch or less thick) and shape. There is a great tutorial here on how to get that classic twist shape. Dip pretzel into soda solution and place on greased baking sheet. Allow pretzel to rise again.


4. Bake at 450F for about 10 minutes or until golden. Brush with melted
butter and enjoy!


Toppings:
After you brush with butter try sprinkling with coarse salt. Or try melting a stick of butter in a shallow bowl (big enough to fit the entire pretzel) and in another bowl, make a mixture of cinnamon and sugar. Dip the pretzel into the butter, coating both sides generously, then dip into the cinnamon mix. Let dry and enjoy.

I woke up this morning to find this. I guess someone else liked these too!

Wednesday, October 12, 2011

Vanilla Chai Pumpkin Doughnuts

I LOVE pumpkin. Like most bloggers about this time of the year, we feed off of each others creativity and passions to feed our own. The most popular food to be blogging about in the Autumn? Pumpkin of course.

I had a calling yesterday as soon as I read about this marvelous invention: the Pumpkin doughnut (doesn't that just sound amazing?). I immediately started making a list in my mind of what foods and tools I needed. I knew I had to make these soon. I actually made them tonight. Started frying those babies up at 12:30am, I just couldn't wait until morning!

Now, I don't fry foods. Ever. It's unhealthy and the people in my house just cringe at anything crunchy/fried. But these are doughnuts! These little balls of dough puff up into something wonderful and soft and NOT feeling fried at all. I was actually kind of nervous about it. I hot vat of scalding oil that I get to stand in front of and drop dough so it could splatter back up? Mmm...not so fun sounding, but the reward was tempting so it's OK, this one time....:)

I adapted this recipe to also include some of my other favorite things: MORE pumpkin flavor, MORE spices and my all around favorite Chai tea. I add chai to alot of recipes and it almost always turns out tasting amazing and looking amazing. So here you go, my first time making doughnuts and they do not disappoint.


Vanilla Chai Pumpkin Doughnuts
(adapted from Pinchmysalt.com, originally from Bon Appétit)

3 1/2 cups all-purpose flour
4 teaspoons baking powder
1/2 teaspoon baking soda
2 teaspoons salt
2 teaspoons ground cinnamon
1 teaspoon ground nutmeg
1/2 teaspoon ground cloves
1/4 teaspoon ground cardamom
1 cup sugar
5 tablespoons unsalted butter, at room temperature
1 large egg (or 1 tbl flax seed and 2 tbl water)
2 large egg yolks
1 teaspoon vanilla extract
1 bag of Vanilla Chai Tea (Bigelow)
1/2 cup milk
1 tablespoon molasses
2 cups canned pure pumpkin
Canola or Peanut Oil (for deep-frying)

1. Combine first 9 ingredients (flour through cardamom) in a medium bowl to blend well; set aside. Pour milk into a microwavable bowl and heat about 1 minute to warm. Seep tea bag into milk and let stand about 3 mins.

2. Using an electric hand mixer or stand mixer, cream sugar and butter in large bowl until well blended. Beat in egg, then yolks, then vanilla. Gradually beat in chai milk and molasses, then beat in pumpkin. Open tea bag and pour in all the contents to the dough.

3. Gradually add the flour mixture into the egg mixture in 4 additions, blending gently after each. Cover the bowl and chill in the refrigerator for at least three hours.

4. Lightly flour two baking sheets. When dough is well-chilled, lightly flour a work surface. Starting with about 1/3 of dough, gently press it out to a round that is 1/2- to 2/3-inch thick. Using a 2 1/2-inch-diameter round cutter, cut out dough rounds. Using 1-inch-diameter round cutter, cut out center of each dough round to make doughnuts and doughnut holes. Arrange doughnuts and holes on the baking sheets as you go.

I had an image of me just eating doughnut holes; something I can just pop in my mouth and enjoy. I also wanted something easy to give, and holes are a easy way to pass on the blessings.

But play around with your cookie cutters, all shapes do well as long as they are no bigger then 2in.

Gather dough scraps. Press out dough and cut out more dough rounds until all dough is used. If dough is very sticky (and it will be), dip the round cutters into flour before cutting each doughnut.

5. Line two baking sheets with several layers of paper towels. Pour oil into large deep skillet or dutch oven to a depth of 1 1/2 inches. Attach a deep-fry thermometer to the side of the pot and heat oil to 365°F to 370°F. Fry doughnut holes until golden brown, turning occasionally, about 2 minutes. Using a slotted spoon, transfer to paper towels to drain. Fry doughnuts, 3 or 4 at a time, until golden brown, adjusting heat to maintain temperature, about 1 minute per side. Using a slotted spoon, transfer doughnuts to paper towels to drain. Cool completely.

6. Top with any glaze or sugar, or just pop them warm in your mouth.

Make sure to watch the color of your doughnuts, they will let you know when they are done.

Here is my first batch:
Not cooked long enough :( They were golden brown, but still gooey inside.

Lesson Learned:
Cooked just right :) Soft and cake like. These will be darker on the outside (approx 2 mins)

I played around with different toppings for the doughnuts, here is what I tried:

1. Spiced Orange Glaze: 1 c confectioners sugar, 1/4 c orange juice, 1 tsp vanilla, 1/4 tsp nutmeg AND cinnamon. Combine until smooth, drop and coat doughnut holes, let dry. You can also try using apple juice which is very good on shortbread cookies, I just didn't have any today to try it.

Score: 4/5. The glaze is amazing and makes these lil' babies super moist and sweet.

2. Sugars: Mix 1 c sugar, 1 tsp cinnamon, 1/8 tsp nutmeg. Roll doughnuts in mixed sugar.

Score: 5/5: I loved this combination. Classic and simple for all the sugars.

3. Sugars:  Lightly dust with confectioners sugar

4. Plain :)

5. Vanilla Glaze: 1 c confectioners sugar, 2 tsp vanilla, 1 tbl milk. Combine until smooth, drizzle over doughnuts. How awesome would this be if I used a vanilla bean?

Score: 5/5: This was perfect if your glaze isn't too sweet and is nice and vanilla-y (it's my word). You can really taste the pumpkin, yum!

6. Chocolate Glaze: 1 c milk, 2 oz dark melting chocolate, 1 tsp confectioners sugar, 1/2 tsp vanilla. This is more of a chocolate sauce, but I dipped the doughnuts into it and let it set.

Score: 1/5: I don't like pumpkin and chocolate. But, I gave it a try again anyways (for science). I still stand by my first statement.

Other ideas: caramel glaze...

Mix in varieties: cranberries, raisens, chopped onion, cheesecake, herbs

Serving:

I made a paper cone, filled it with holes and gave it to my 2-year old to walk around and eat
Mommy had her's with hazelnut coffee


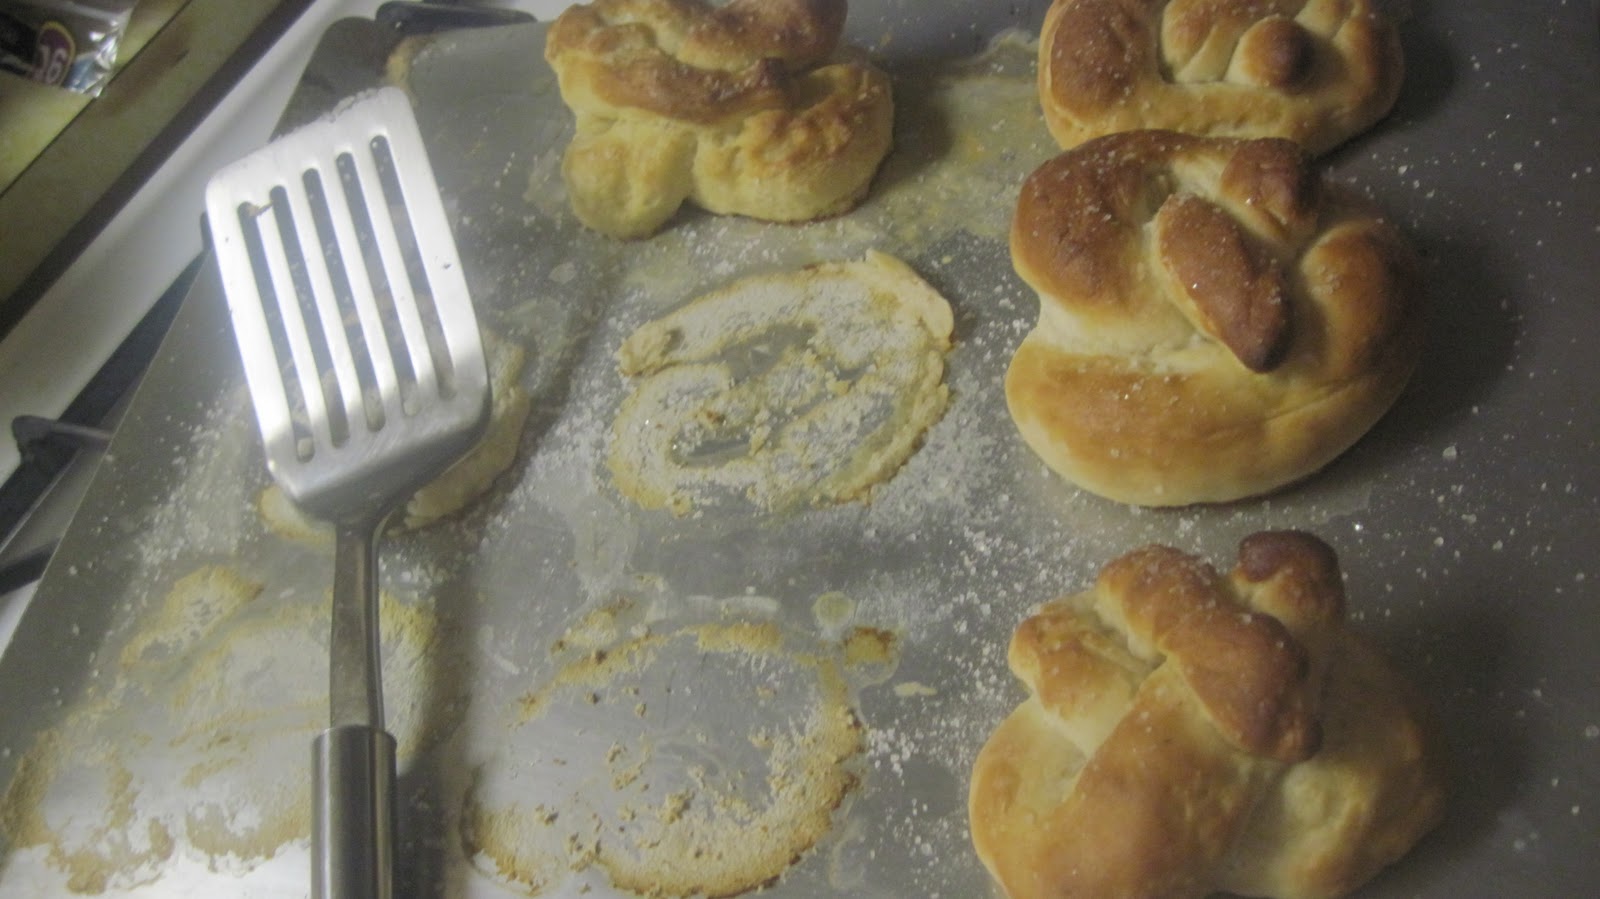
Other shapes I tried:

Leaves

Hearts


Good Ole' Fashioned Doughnuts
 
See the speckling of tea and spices? <3


This was a fun project and I might make these again since they are really good, but...again, not a fan of frying things. We'll see. Hope you try this at least once.

Put it on your Bucket List right now before you forget. 

Tuesday, October 11, 2011

Foccacia Bread

Just this summer I made my first trip to Panera Bread, yeah, I know. I was not in love with how much things cost there, but once I tasted the food...mmmm!

My favorite meal there is a turkey sandwich made with Asiago Focaccia bread...wow! I've never had Focaccia bread and I had a taste of Asiago before when making a homemade 5 cheese macaroni. Now I can't enough of that cheese! I am currantly hunting down more recipes to use it.

Today I was craving this sandwich, so I thought I might as well just make my own, I had everything I needed, so why not?

I grabbed my best baking friend, my Better Homes and Gardens Cookbook and found a basic recipe. So here it is, with a few of my adjustments added.


Focaccia Bread          Italian pronunciation: [foˈkattʃa]

1 tsp sugar
4- 4 1/2 c flour
1/2 c warm water
1 tsp yeast
1 c warm water
2 tsp course salt
1 tbl olive oil

1. First you need to make a sponge. Combine sugar with 1/2 c water and dissolve. Then slowly add 1/2 c flour with 1/2 c warm sugar/water and yeast. If you want to make this an herb bread add half teaspoon each of your favorites: dried basil, oregano, rosemary or Italian seasonings. Beat with a wooden spoon until smooth. Cover loosely with plastic wrap. Let sponge stand 30 mins to overnight at room temperature to ferment.

Bubbles=fluffy soft bread
2. Gradually stir in 1 cup warm water, the salt and flour until the dough comes together. Turn down dough on a lightly floured surface. Knead stiff dough until smooth and elastic (8-10mins). Place in a lightly greased bowl, turning once. Cover with a towel and let rise in a warm place until double in size.

3. Turn dough onto a well-floured sheet, gently, pressing with your fingertips stretch out dough into a circle about 11in diameter. Place an extra large bowl upside down over the dough to cover it; let rest 30 mins.Don't stretch the dough too roughly or dough will deflate, you want to keep bubbles intact.

4. Pre-heat oven 475F. Uncover dough and make 1/2 inch deep indentations every 2 inches in dough with your fingertips or spoon handle. Brush dough with olive oil (this helps preserve moisture), and give a few grinds of course salt. Use a microplane or a fine grater to grate enough Asiago cheese to cover. Clean off flour around bread.

To make this bread with more of an Italian flare, add some sliced olives or dried onion just before baking. Focaccia is closely related to pizza and flatbread dough and can be topped accordingly to be enjoyed in a new way.

Ideally this bread should be baked on a bread stone, but I don't own one. I think I'll add that to my growing list of kitchen tools that I want ;)

5. Bake for 20 mins for a light brown crust or up to 30 mins for darker crunchier crust. Check your bread after 8-10 mins to pop any potential large air bubbles with a knife. Cool on a wire rack about 15 mins. Serve warm with some olive oil (herb olive oil?) for dipping.

This can be cut into fourths to make excellent sandwiches. I enjoy topping a slice with meat and vegetables and eat it open faced (less carbs that way and my hard work lasts longer!)


Also...just as a word of warning. Make sure you know where your young children are at all times when making this bread, or you might just end up with this kind of situation!


Saturday, October 8, 2011

Pumpkin-Lavendar Bread

I am hosting a Blessings Unlimited party tomorrow and I really wanted to make something different for the guests to nibble on as they look through catalogues and listen to a consultant speak.

The party is going to be outside in the fresh Fall air, making this a perfect time to start with a new pumpkin recipe!

Last night I was sitting and thinking of what to make, when I decided to combine two different but complimentary SMELLS....what goes with pumpkin? The usual: nutmeg, cinnamon, ginger, maple, cloves...but I thought, what about lavender?

That's it! I googled some recipes (I guess I'm not as original as I thought), and found very few, most blogs just used the same recipe over and over, I didn't like that. This had to be an original, so I made up my own.

Pumpkin-Lavender Bread

4 c sugar
1 c oil
4 eggs (you can substitute 4 tbl of flax and 1/2 of water for added fiber)
3 1/2 c all-purpose flour
2 tsp baking soda
1 1/2  salt
1 tsp Saigon cinnamon
1 tsp nutmeg (fresh grated is best)
1/4 c lavender
2/3 c water
1 1/2-2 c pumpkin puree (homemade is best!)
1 c chopped walnuts or raisins (optional)

1. Take a deep small bowl and pour in lavender. If you have a mortal and pestle (I don't), crush lavender until aromatic and sweet. I used a citrus zester and a bowl-same diff. Pour in one cup of the sugar into the lavender and mix. Let sit.
2. Grease 3 8x4x2 inch bread loaf pans, set aside. Pre-heat oven to 350F.
3. In your stand up mixer bowl (or a large mixing bowl), beat remaining sugar (3 c) and oil on medium speed until crumbly. Add eggs one at a time, beating well after each one.
4. In another large bowl, combine flour, baking soda, salt, cinnamon, nutmeg and half a cup of lavender sugar.
5. Alternate adding flour and water to sugar mix on low speed, starting and ending with flour. Mix until just combined. Mix in pumpkin.
6. Spoon batter into prepared pans. Sprinkle with a few lavender buds, and bake for 55-60mins or until toothpick inserted comes out clean.
7. Cool in pans 10 mins, remove and cool on wire racks completely. Eat.

This bread is very good! I loved the mingling of flavors. You take a bite and immediately taste the familiar pumpkin and nutmeg, but then comes the lavender and your senses just go, "ahhhhh". I know I'll be making this again.

* Next time, I probably would add nuts. I made my bread without walnuts (family members are allergic), but I think those would really, really made this bread sing!


The crumb texture is just right!