Showing posts with label recipe. Show all posts

Sunday, July 15, 2012

Leek and Chickpea Curry

I have never had leeks before. I bought them just for that fact. 

If YOU have never had leeks before, then I think you will be pleasantly surprised at their taste and, in this curry. You never can go wrong making a curry out of the vegetables you have on hand.

The flavors meld. They compliment.

If you are thinking 'curry,' that must be spicy! It's only as spicy as you want it to be. I like things with a good kick, but also have deep flavors that keep your tongue busy with each bite as it recognizes all the spices you add. A curry combines these two food loves in one.

Curry doesn't mean just spicy. It means a lot of things. But, as it was explained to me, curry usually is defined as anything cooked with water. Read this interesting wiki definition if you want to get some more ideas. Think about it this way. If you like to curl up with a warm bowl of soup on a chilly day, a curry gives you just that.

This will be my first of many curries I hope to post on this blog. I won't post about regular curries; that you can Google, but the ones I put my own spin on.


Leek and Chickpea Curry                                        serves 4


2 tbl vegetable oil or ghee
1 onion, diced
3 cloves garlic, chopped
1 in ginger, peeled and chopped
2 leeks, trimmed. Here is a helpful video how to prepare leeks for us beginners
2 c cooked chickpeas, 1 can
1 medium potato, peeled and cubed
1 tsp EACH ground cumin, ground coriander, salt, garam masala, tumeric
1 tbl EACH chili powder, Kitchen King (available in Indian, Punjabi, Pakistani stores)- KK is optional
1/2 can chopped tomatoes
1/2 can coconut milk
water 
coriander/cilantro, fresh, chopped

1. In a saute pan, heat the oil and on low saute onion, garlic, ginger and leeks for 5 minutes, letting leeks and onions sweat.
2. When leeks and onions are tender, add all the spices listed, mix well and let cook another 5 minutes.
3. Add chopped potato, tomatoes, coconut milk and one cup of water. Mix well. Bring to a boil and let simmer on low for 30 minutes, stirring occasionally and adding more water if necessary.
4. Garnish with fresh coriander, serve with wheat tortillas, wheat pita bread or rice.

Calories calculated with Sparkrecipes calculator: 241 calories per serving. *Does not include calories of anything served alongside (tortilla/rice)


Saturday, July 14, 2012

Quick Apple Cheese Danish

I made this danish on a whim after craving something sweet that would also use up my purchase of too many apples and puff pastry. Result of my whim? LOVE! I simply love this recipe over and over again. I have made this danish about four times now in the last two months. It's addicting. REALLY addicting. 

If you love: Lemon, Cheese, Apples, Cinnamon, or Pastry, this danish will hit the spot in a fraction of the time it would take to make a complicated old fashioned one. 

As for the 'cheese' part of this danish, there are two kinds hidden in here, cream cheese and cheddar. I got the idea of adding the cheddar because I recently heard some people love a slice of apple pie with melted cheddar cheese on top! This is not 'cheesy' in that way, but sweet and tart from the baked apples and lemon. 


Quick Apple Cheese Danish                                   Makes 8 slices
                                                                                            
1/2 package of puff pastry (8oz/250g)
1/2 c cream cheese
1 whole lemon, small
4 tbl granulated sugar
1-2 apples, any kind-the more tart, the better
2 oz? cheddar cheese (I measured by eye and used a piece the size of my thumb, thus the '?')
1/4 tsp ground cinnamon + a dash
1/8 tsp ground nutmeg + a dash
salt
1 tbl white flour for dusting
1 egg

1.  Pre heat the oven to 420F or 220C OR whatever your Puff Pastry Package says to bake at! Line a cookie sheet with parchment paper or foil. Take out your puff pastry out of the refrigerator and leave on the counter to soften while you make the filling.

Put 1/2 cup of cream cheese in a bowl, mix in 2 tbl of sugar, and zest of entire lemon. Cut lemon and add juice of one half, save the other half for later. Grate the cheddar cheese and join with the cream cheese, add a dash of cinnamon and nutmeg. Combine until mixture is creamy and soft. Salt to taste.


 2. Cut your apples in half and core; I like to cut a 'V' shape out, it's quickest. Then peel the skin and slice to make arches, rainbows, semi-circle, crescents, etc...  I do not recommend you peel first then core, as the apple will be slippery and you may hurt yourself.


3. Place slices in a container, cover with remaining 2 tbl of sugar, cinnamon and nutmeg. Mix and set aside. You can add the juice of the other half of your lemon if you want. Set aside.


4. Sprinkle flour on the work space and roll out puff pastry into a roughly 15x10 rectangle. I rolled my puff pastry the length of my cookie sheet and then as wide as it would go. I mean, you're smart people, you can figure it out without using a ruler. Just eyeball it. Don't make it complicated.


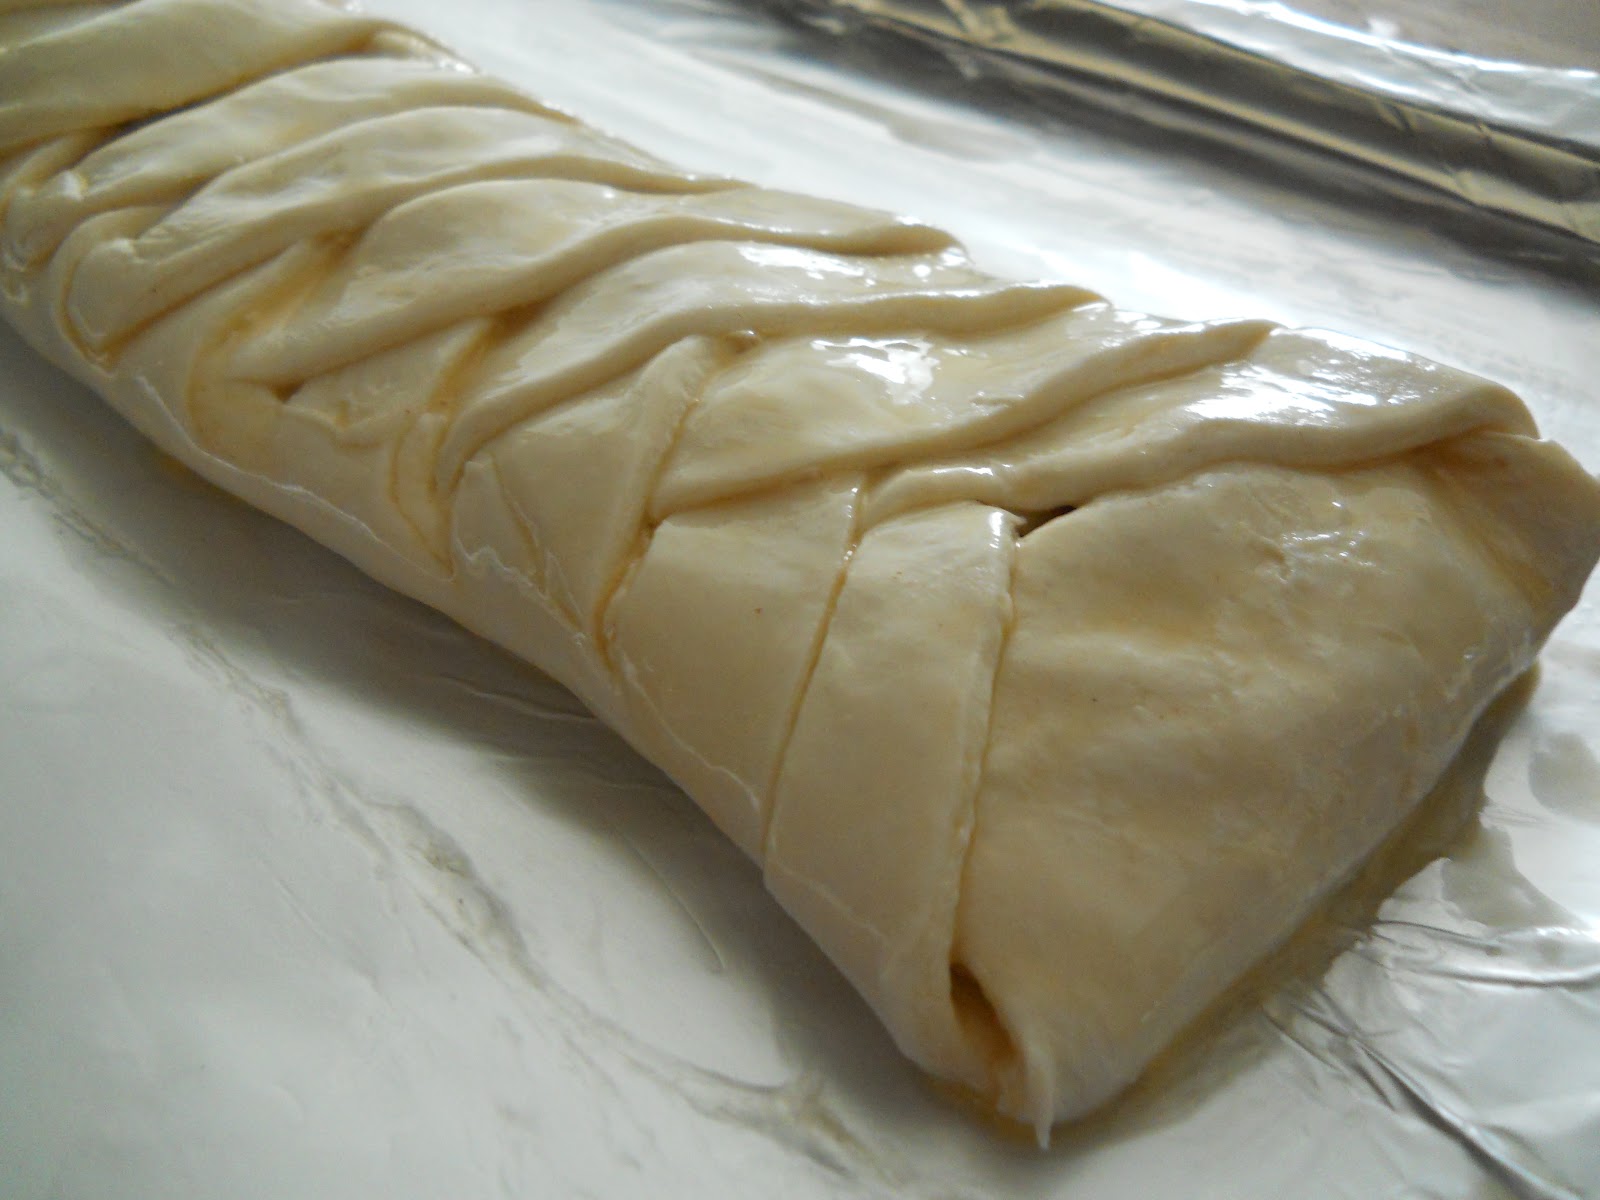
5. Using your thumb, start from the side and mark in on the left then right, measure down and mark on both sides of the pastry, cut a diagonal obtuse angle and remove. I scored a little to make my angles as even as possible. You want to end up with sort of a head in the center.


Then using your thumb again for measurement, cut diagonal lines all the way down the pastry. You can cut off the tips of longer braids, but that is just wasteful and the pastry looks good no matter what.


6. Carefully spread your filling down the middle of the pastry and layer the apple slices on top.


Now, Braid! 
Fold down the top pastry flap, then fold one side over the filling, alternating each side to make a pretty braid.


7. Move your danish carefully to your prepared pan. Mix an egg and give the whole thing an egg wash to make it golden brown. Bake 20-25 minutes.


8. Enjoy warm for breakfast or as dessert with a scoop of vanilla ice cream on the side.


Calories calculated using Sparkrecipes Calculator: 282 calories per slice

Sunday, July 8, 2012

Eggplant BLT

Yesterday I was craving eggplant (aubergine, brinjal, whatever you like to call them). And when you have a craving it seems to be all you think about. But I was reluctant to cook any, I was getting bored with the perennial plant. I have prepared them baked, in lasagna, covered in sauce, fried and spicy, cooked like a twice baked potato etc...- Change was needed. Something new.

Googling around (That's a word, right?), I simply wrote, 'creative uses for eggplant' and I found a post by Real Simple who breaded the slices and fried them until crispy, (OK yawn, been there, done that), THEN, he used the crispy slices like 'bread' to make a sandwich! Ugh! So creative!

The chef's recipe didn't sound appetizing, and I didn't have half the ingredients anyways so I adopted it into the classic, and Real Simple Bacon, Lettuce, and Tomato sandwich.


This is possibly one of my top ten favorite recipes for 2012. 
It is seriously good food.

Here is Matt Romero's recipe with some adaptation by me.


Ingredients                                                         Time: 30 minutes, serves 2
                                                                                          Makes approx six 'sandwiches'
5-10 slices of bacon (however much bacon you like)
1/3 c flour
1/3 c cornstarch
1 large egg beaten
1/2 c fine breadcrumbs
1 medium/ large eggplant, cut into 1/2 inch rounds
1/2 c vegetable oil
kosher salt 
leaves romaine lettuce, torn in half 
small tomatoes, sliced


Directions

  1.  Line a plate with paper towels and place the eggplant slices on top, sprinkle with salt and let sit for 15-30minutes, here's why. Rinse and pat dry.
  2. In a frying skillet, cook bacon like normal until done to your liking, drain on paper towels and keep warm in the microwave. Drain bacon grease if you'd like or use it for step 4.
  3. Mix the flour and cornstarch together. Place the flour mix, eggs, and bread crumbs in separate shallow bowls. Dip the eggplant slices in the flour mix, then in the eggs (letting any excess drip off), and finally in the bread crumbs, pressing gently to help them adhere completely coating. Don't worry about the sides being coated.  
  4. In the same skillet, heat half the oil over medium-high heat. Cook half the eggplant until golden brown and crisp, 2 to 3 minutes per side; transfer to a paper towel–lined plate, repeat with the remaining oil and eggplant. Sprinkle the hot eggplant with ½ teaspoon salt.
  5. Layer the eggplant, bacon, lettuce, and tomatoes, to form  "sandwiches," with the eggplant on the top and bottom of each stack. 
  6. Eat and enjoy!

Calories calculated using Sparkrecipe Calculator: 471.2 calories per serving (3 sandwiches), *Calories calculated with 5 slices of bacon

The tiny ends can be made like 'sliders' Love it.

Wednesday, November 30, 2011

Turkey, Quinoa and Pear Stuffed Cabbage Rolls

Most of the recipes that I come up with are inspired by two questions: "What haven't I eaten in awhile?" and "How haven't I prepared that food yet?"

Answers: Cabbage and Cabbage rolls.

Most cabbage rolls I searched for are just plain rice with some red sauce on top (boring!) I mean for an international dish (every country seemed to have their own version of the cabbage roll), there was very little variation).

I knew I wanted to use my leftover turkey from Thanksgiving, especially in a way that was subtle and not so overly turkey. I'm sure a lot of you are tired of preparing Thanksgiving leftovers always in the same way.

So, I thought I'd approach this conundrum as: "how would I stuff a turkey?" and just turn it inside out! Voila the Turkey, Quinoa and Pear Stuffed Cabbage Roll was born.


Turkey, Quinoa and Pear Stuffed Cabbage Rolls

1 c uncooked Quinoa                                                              Serves 4
2 c vegetable broth
1 head of Cabbage, approx 12 leaves
1/2 c yellow onion, diced
1/2 c turkey, chopped or shredded
1 zucchini, shredded
1 small pear, peeled, cored, diced
1 tbl garlic paste or 1 clove of garlic finely minced
1/2 tsp oregano
1/4 tsp marjoram
1/8 tsp ground sage
salt & pepper

Optional:
1 c marinara sauce
1/4 c mozzarella cheese

 
1. In a medium sauce pan, pour in your vegetable broth, bring to a boil. Take out a large pot and fill with water, bring to a boil too. Pour quinoa into the vegetable broth, reduce to simmer and cook 15 minutes. Turn off the heat, fluff with a fork and let cool. (I put my whole pot in the freezer for 5 minutes to speed up the process).

2. While Quinoa cooks, take apart your cabbage leaves and drop into your large pot of boiling water for 1-2 minutes; just enough to soften them. Let dry on paper towels and trim (see picture below). Preheat the oven to 350F.

Trim the spine of the leaves to make them flexible to roll. Just a little trim off the top is good.

3. In another saucepan, add a little olive oil. Sautee onions for 1 minute. Add turkey and garlic, cook for another 2-3 minutes. Add shredded zucchini and pear; sautee until water is absorbed out; pear and zucchini are tender. Season with spices.


4. Mix in quinoa with the vegetable-turkey mix, salt and pepper to taste.


Spoon about 2-3 tablespoons of the mixture into the cabbage leaves and wrap like a burrito. Place into a casserole dish seam side down. Top each roll with a little marinara sauce and a sprinkle of mozzarella cheese.

scoop
roll
place


5. Cover with a lid or with foil and cook for about 35-45 minutes- or until tender. Note: I would omit the sauce next time, the flavors kind of clashed in this dish or maybe I'll be creative and use a mushroom sauce instead. Sauce or not, it's really up to you. It was very good either way.


Calories calculated using Sparkrecipes Calculator: 270 calories for 4 rolls


The health benefits of this meal are awesome.
Quinoa is one of the best foods I could have ever stumbled upon. It goes well with anything and is power-packed with nutrients. Not to mention- it's wheat and gluten free! This mega grain contains ALL the essential amino acids (making it a great food for vegans and vegetarians). No wonder South American Natives called this food "the gold of the Aztecs". It is also high in Vitamins B2, E and fiber.
Cabbage is also a nutrient dense food. I've been trying to incorporate more and more cabbage into my life lately for that very reason. Cabbage is known for it's phytochemicals, which contain powerful anticancer glucosinolates. It is high in Vitamin C, B6, potassium, folic acid, magnesium, manganese and calcium!

Sunday, November 27, 2011

Flourless Peanut Butter Cookies

I really should call this recipe, my "2^5th Power Peanut Cookies."

The other day I felt like baking and was taking requests, someone in my family asked me for peanut butter cookies AGAIN. I love that my family love my baking and wants them again and I admit, peanut butter cookies are great, but I really dislike making the same thing over and over again.

So, with permission for creative license, I decided to make gluten free peanut butter cookies with ganache toppings.


Yum!

Flourless Peanut Butter Cookies                 Makes 24
adapted from Women's Day

2 cups creamy peanut butter
2 cups packed light-brown sugar
2 eggs
2 tsp baking soda
2 tablespoons peanuts, coarsely chopped

Ganache
1⁄2 cup heavy cream
1 cup bittersweet
chocolate chips
Garnish: chopped peanuts


1. Heat oven to 350ºF. Beat peanut butter, brown sugar, eggs and baking soda in large bowl until smooth and blended. Stir in chopped peanuts.

2. Drop rounded tablespoonfuls 2 in. apart, onto ungreased baking sheets. use the back of your spoon to slightly press cookies down. Bake, one sheet at a time, 10 minutes or until cookies are puffed and slightly golden. Cool 5 minutes on baking sheet; remove to wire racks to cool completely.


3. Microwave cream in glass bowl on high 1 minute or until it just begins to simmer. Add chocolate chips; let stand 2 minutes. Stir until chocolate is melted and smooth; spread over half of cookie top and sprinkle with chopped peanuts. Or fill a squeezable bottle with ganache and drizzle, sprinkle with peanuts, then drizzle again.


Note: If ganache begins to firm up, microwave a few seconds at a time until easy to spread. Let set at room temperature. Ganache will take a few hours to set up. It's best to let them sit for 4+ hours then serve.

Calories calculated using Sparkrecipes Calculator: 237 calories per cookie

Wednesday, November 16, 2011

Fish Tacos

I LOVE fish tacos. They always remind of of sitting by the ocean and smelling the salty air, being in a foreign place with fresh produce and just having a good time.

I just recently saw this Taco Festival online last night that I REALLY want to go to some day, and the number one most searched for taco recipe? Fish! I don't think my tacos can compare to their seemingly gourmet ones, but they are delicious and the uncomplicated kind (which to me is better).

These tacos are great for quick dinners (not to mention so much healthier then most packaged quick dinners) and they can feed a lot of people if you are having a party.


Fish Tacos                                      Serves 4 -3 tacos each

2 lbs. fresh Tilapia fillets or any favorite fish
2 tbl butter, melted
1/4 tsp ground cumin
1/4 tsp garlic powder
8 " flour tortillas
2 cups shredded cabbage
2 green onions, sliced
salt

Sauce:
1/2 cup mayonnaise
1 fresh lime, juiced

Garnish:
sour cream
salsa
fresh lime wedges

1. Thaw fish if frozen and pat dry with a paper towel. Place on a cutting board and cut into diagonal 2" long strips. Spray a shallow baking dish that is big enough to fit all your pieces, lay fish inside dish.

2. Pre-heat your oven to 350F. In a small cup, combine butter, cumin and garlic, brush over fish. Bake for 6-7 minutes or until fish flakes with a fork.


3. Meanwhile, shred cabbage and slice green onions if you haven't done so already. In another small cup, combine lime juice and mayonnaise, set aside.

4. When fish are done, remove them the oven and lightly salt to taste. Warm your tortillas however you like. I like to take a small saute pan and turn the heat onto med-high. Place tortilla in the pan and let it warm one side until slightly puffy and dark spots appear on the tortilla, flip and do the same to the other side. This takes about 2 mins per tortilla.

5. Assemble tacos by taking a warm tortilla in the hand, slather a tsp-tbl of mayo-lime sauce on one side. Fill with a large pinch of cabbage, then 2-4 pieces of fish pieces. Top with green onions and other desired garnishes.


Calories calculated using Sparkrecipes Calculator: 423 Calories for 3 tacos, does not include salsa or sour cream.

Monday, November 14, 2011

Fajita Quesadilla

I can't underestimate how many times a week I could eat quesadillas, or overestimate how much I love eating them.

The simple quesadilla is my favorite food. It's fast, it's cheap, and so easy to make. Did I mention delicious? That should be the number 1 reason for eating anything!


This is the fajita quesadilla. I'm sure many people know how to make melted cheese between a tortilla. Really, that is like kindergarden type of meals.

But for those who want a delicious, step up the lunch scale kind of quesadilla, definitely try this next time.

I also want to add, this is a total party food. Its a definite crowd pleaser and can be easily made ahead and kept warm in the oven. Yum!


Fajita Quesadilla                                 Serves 4

4 large flour tortillas
3 tbl butter
2 cups 1% mozzarella cheese
1/2 red bell pepper, sliced into 1" strips
1/2 green bell pepper, sliced into 1" strips
1/4 large yellow onion, diced
1/4 cup chicken pieces (perhaps from a leftover whole chicken?)

1. In a small pan, melt 1 tablespoon of butter and sautee vegetables until tender, add chicken and cook until heated through.


2. In a large skillet, heat to medium. Butter one side of your tortillas and place in the skillet, butter side down. Fill one side of the tortilla with half the cheese and sauteed vegetable mix. Top with a little more cheese if desired.

This is my 2nd quesadilla, you can see the 1st one under the top one.

Fold over other side of the tortilla. If you are making two and have enough room, butter and add your tortilla repeating the steps to fill, and fold. Cover with a lid and let cook for 2 mins.


3. Remove the lid, with tongs flip the quesadillas, recover and cook an additional 1-2 mins. Move to a cutting board and let sit for 1-2 mins to let cheese settle.


4. Slice into triangles and serve with sour cream and salsa for dipping.

Calories calculated using Sparkrecipes Calculator: 348 calories per serving

Black-eyed Beans and Potato Curry

Some nights you just need to experiment and hopefully you come out with a winning dish.

Meals start with inspiration. Tonight I looked around and I saw my collection of beans sitting prettily in their jars, and I said: "I want something with black-eyed beans" and thus this creation happened. It only takes one thought and some steps to make what you want a reality.

I really enjoyed this meal. It was very good and very filling. You can't go wrong with low in fat, high in flavor meals that feed a family and takes little to no effort to make.

November is a big month of National Health Associations trying to bring awareness to different causes. I take it as a challenge to create, healthy dishes I can be guilt free to eat. October was Unprocessed month. November follows through with overall health awareness.

So enjoy this meal with good healthy thoughts and a nice, satisfied tummy.


Black-eyed Beans and Potato Curry

1 extra large potato, cubed
1 cup, black-eyed beans/black-eyed peas
2 medium tomatoes, finely chopped
1/2 medium onion, finely chopped
4-5 garlic cloves, finely chopped
2 chilis or 2 jalapenos, seeded and diced
2 tsp cumin seeds
2 bay leaves or 1/2 tsp crushed leaves
1 tsp garam masala
1/4 tsp turmeric powder
9-10 mint leaves, chopped (optional)
salt

Beforehand to speed up the cooking process, quick soak the beans. In a pot, place your beans and 6 cups of water. Cover, and just as water is boiling, turn down the heat to simmer for 10 minutes. Turn off the heat and let sit for an hour. Drain and prepare as directed below.
1. Heat oil in a  heavy bottomed pan and add potatoes. Fry until brown on most sides, remove from pan and set aside.

2. Add 2 tbl of oil and add cumin seeds, when they start to make a cracking noise, add the bay leaves, chopped onions and fry until tender.

3. Lower the heat. Add the garlic, chili's/jalapenos, turmeric powder, garam masala.

4. Add the chopped tomatoes and fry until the oil separates.

5. Add the beans and cooked potatoes, add water to cover the beans and cook for 40-50 minutes (or 10-25 mins of you quick soaked your beans).

6. Uncover and add the chopped mint leaves and simmer for another 5-10 minutes, depending on how well cooked the beans are. Add water if required. If you find there is too much water, then uncover and let boil until the amount of water has decreased.

7. Sprinkle with salt and enjoy.


Calories calculated using Sparkrecipes Calculator: 135 calories per serving

Saturday, November 12, 2011

Coconut Rice

If you are looking for a simple and filling rice and bean mixture, this dish certianly fills that want.

I was playing around with flavors tonight and after one bite, I didn't want anything else I made for dinner. My side dish became my main dish!

The coconut is subtle for those who cringe at the flavor being too strong. The basmati rice and red beans are a perfect compliment in texture. Sprinkle with a little pepper before serving and you are set.


Coconut Rice

1 tbl butter
2 garlic cloves, minced
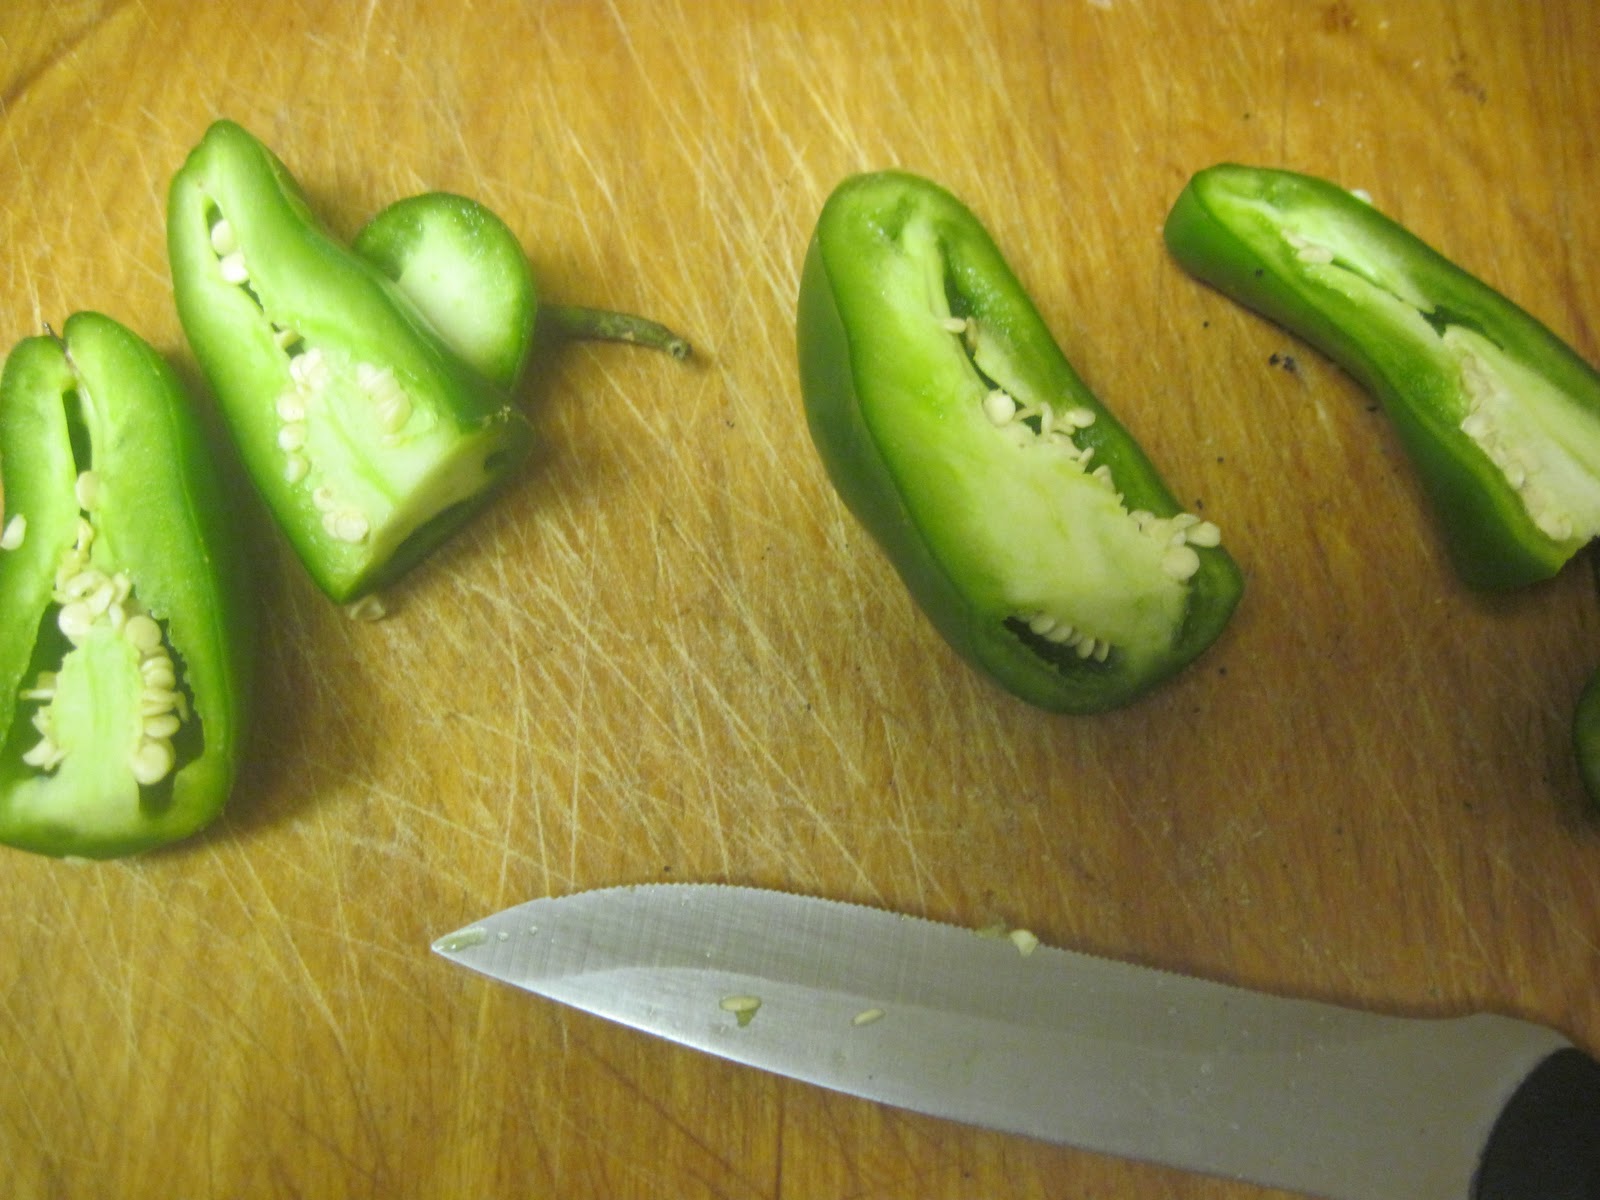
2 jalapenos, minced (ribs and seeds removed for less heat)
1/4 teaspoon dried thyme
1/4 tsp celery salt
Coarse salt (optional)
3/4 cup canned coconut milk
1 can red kidney beans, drained
1 cup Basmati rice
2 scallions, cut
Black Pepper (optional)
1. In a medium saucepan, melt butter; add garlic, jalapeno, thyme, celery salt and 1 teaspoon salt. Cook until aromatic, about 30 seconds.

2. Add coconut milk and 1 1/2 cups water- bring to a boil. Stir in kidney beans and rice. Cover; reduce heat, and simmer until rice is tender, about 20 minutes.

3. Remove from heat; stir in scallions. Let sit, covered, until water is absorbed, 10 minutes.

4. Enjoy! Try as a side dish, with Coconut, Curry, and Lime Chicken.

Coconut, Curry, and Lime Whole Chicken

Coconut, Curry, and Lime Whole Chicken


1 whole chicken, 3-5 lbs (with skin)
1 can coconut milk
2 tsp curry powder
1 tsp cumin
3 tsp salt
2 jalapenos, cut lengthwise
1 large garlic clove, finely minced
4 key limes
1/2 large yellow onion, cut into wedges

1. Optional: The night before, remove any internal organs from your chicken, and place in a small deep pot; cover with water. Put on the lid and refrigerate until the next day. I always do this step as it ensures a moist and delicious chicken every time.

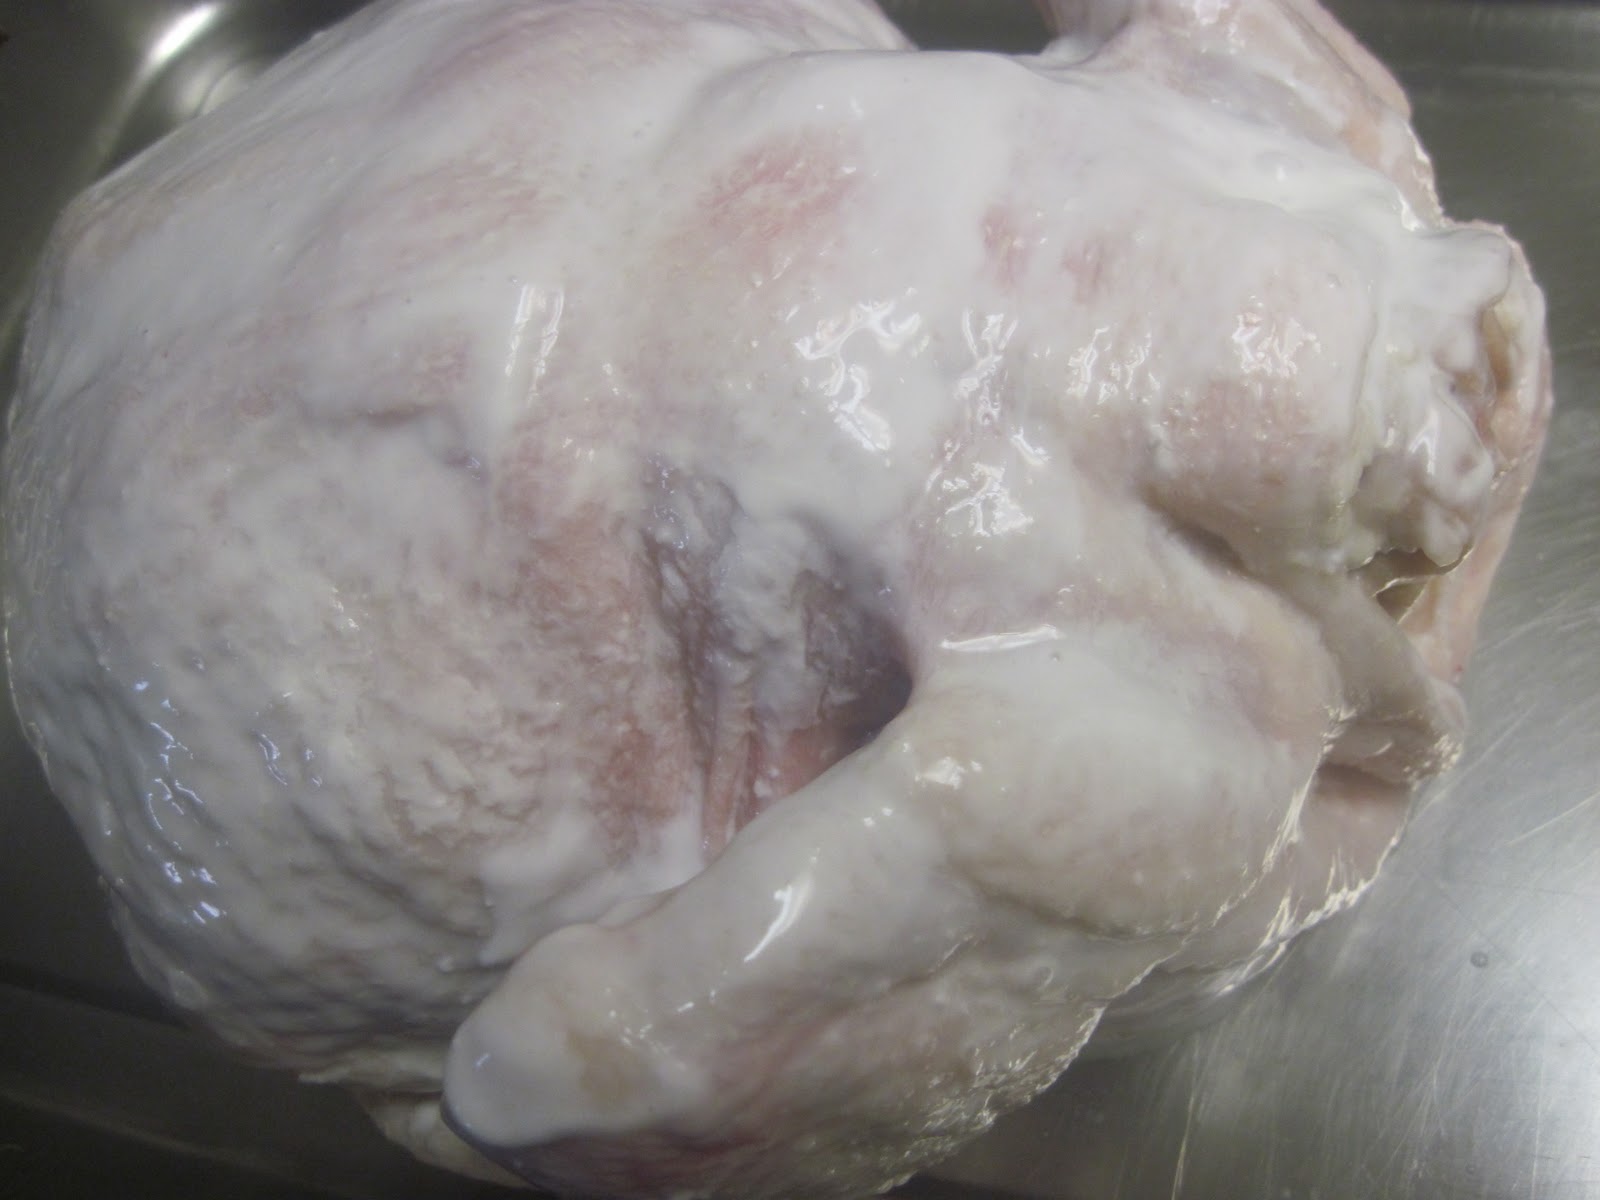
2. Take chicken and place in a deep bowl, cut deep slits into chicken breast and thighs. Rub 2 tsp salt under the chickens skin and on the breast meat. Pour coconut milk over the whole chicken and cover bowl with plastic wrap. Place in refrigerator until 2 hours before dinner.


3. Preheat the oven to 375F. Lay out your roasting pan. Place coconut covered chicken in roasting pan (breast side up or down-does not matter), discard left over coconut milk. Combine curry and cumin, sprinkle evenly all over chicken. Spread salt and place jalapenos inside the chickens cavity.


4. Squeeze the juice of limes over the chicken and place in the bottom of your roasting pan. Sprinkle garlic over the top, pushing some pieces into the cut slits of the chicken meat. Scatter onion and other jalapeno in the pan, around the chicken. Pour a little bit of water (about 1/2 cup) in the bottom of the pan. Cover with foil.


5. Roast chicken for 1 hour, remove foil and roast another 30-45 mins or until golden brown and meat thermometer registers 180F in the chicken's thigh.


6. Enjoy! Serve with Coconut Rice, garnished with roasted jalapenos.


Calories calculated using Sparkrecipes calculator: 162.8 calories per serving