Tuesday, July 13, 2010

Chocolate Covered Oreos

I know it's kind of hard to improve on the Oreo, except maybe if you do this:


But this is about making them covered in chocolate! A deliciously different approach to a classic cookie. It's really easy and impresses a lot of people, especially little ones.

You will need:

  • 1 package of Oreos, plain, mint or double-stuff
  • 2 bags (12 oz each) of white or milk chocolate chips
  • 4 tbs of Crisco
  • Double boiler or microwavable safe bowl
  • A cookie sheet
  • Freezer room!
  • 30-40 lollipop/Popsicle sticks/craft sticks
  • wax paper
  • sprinkles

Turn on your stove to med-high and get a boil going in your double boiler, then turn the heat down to a very low simmer. Pour in your chips (do one bag at a time to prevent the chocolate from burning). Mix in 2 tbs of shortening (Crisco) to make it smooth and creamy. Add more if the chocolate is too thick. It should just pour off the spoon.

If you are doing the microwavable method, pour in about 2 cups at a time of the chips and shortening, heat on High for a few seconds (15-30) then take out and stir. Return back to the microwave and repeat until the chocolate is smooth and dripping.


Cover your cookie sheet with wax paper. Once your chocolate is perfect, twist apart all your Oreos and lay flat on a cookie sheet. Dip your stick into the melted chocolate and then press onto the cream filled cookie. Put the cookie back together.

Freeze the cookies 15 mins until firm. Don't skip this step or the cookies will fall apart when dipped!

Dip, one at a time into the chocolate, using a spoon to help coat. Resist the urge to lick the spoon, it's hot. Tap off extra chocolate to get that smooth look. *If you are using the microwave method, you may have to return your chocolate to be re-heated once it begins to set. If you set your bowl with the chocolate in some warm water, it will help keep the chocolate warm.
Place cookies on the wax paper and decorate to you're heart's delight. If the chocolate sets before you remember the sprinkles, just give it a quick "paint job" with the back of the spoon in the melted chocolate. Return to Freezer for 30 mins or until set. Store in an air tight container.

Make Zebra cookies and drizzle milk chocolate over white or vice versa.

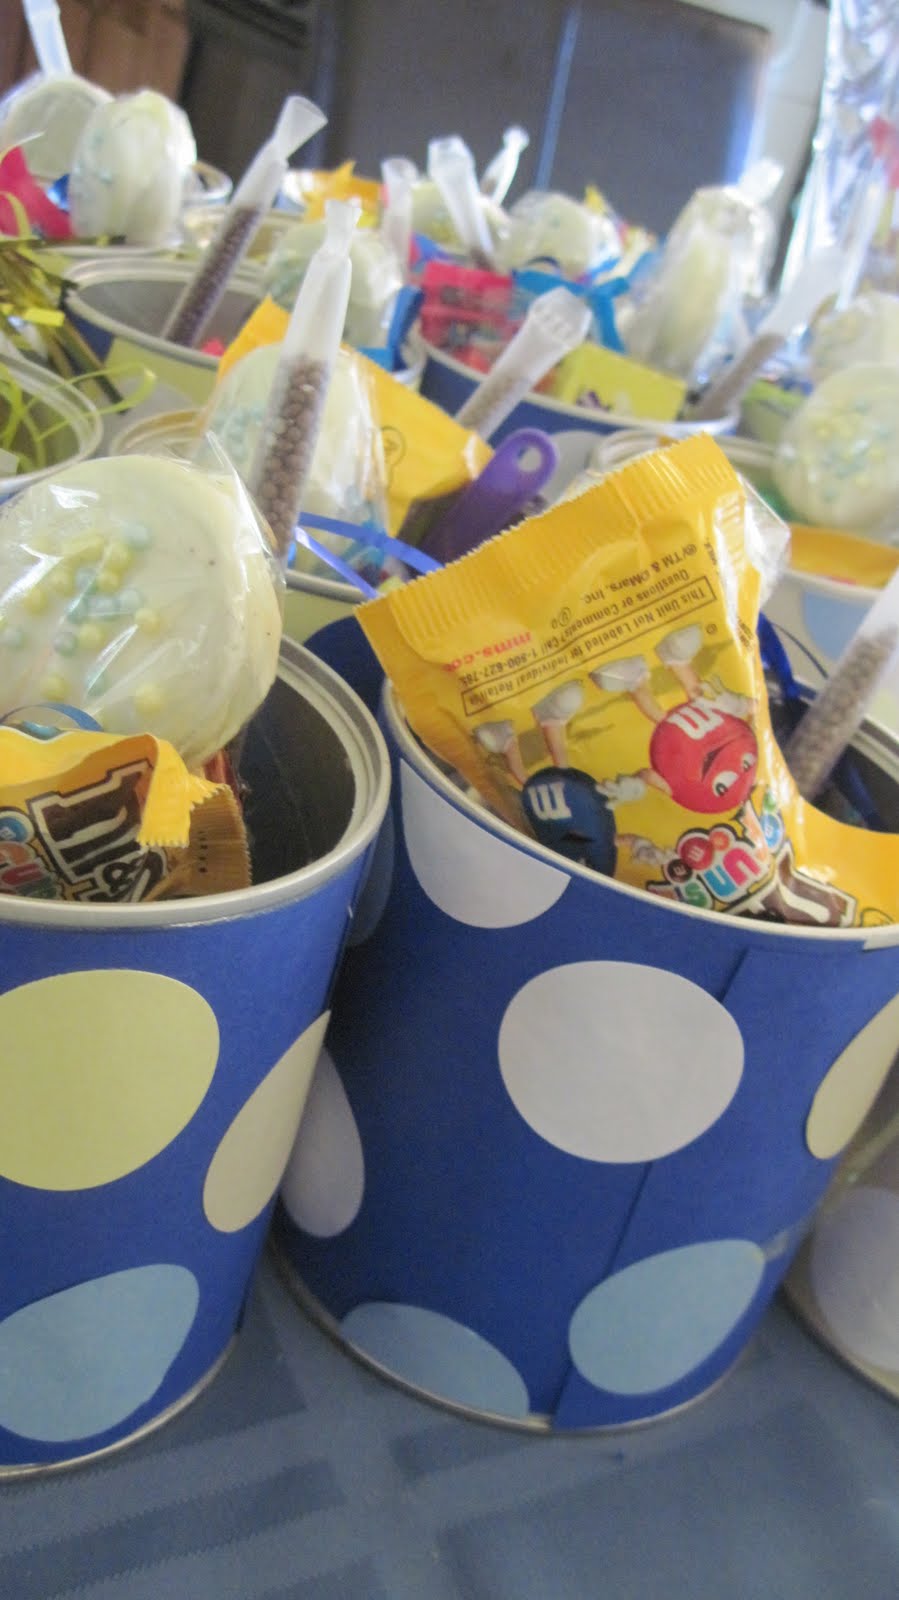
Dip, Sprinkle or Coat in holiday or "event" (graduation, baby shower etc.) sprinkles.


These will keep in the freezer for about six months.

Monday, July 12, 2010

Birthday Party Can Favors

All I can say about the last week is: "Wow" and "It was all worth it!" My son, John-David, turned one year old this last week and we threw a big party with lots of family and friends coming from out of town to stay.

There was lots of food and cold drinks for everyone to eat outside. Everything would have gone wonderfully if the weather didn't decide to be 104 degrees and make all my guests sweat. I almost broke into tears thinking all my pictures I had planned in my head were going to be ruined, the food was melting....but everyone said they had a wonderful time! And that is what really matters.
I wanted to post a few of the things I made for John-David's party. So let's start with the party favor cans...

I am sort of a recycling nut (not a hoarder, but I do re-use items if I can). I saved almost every formula can we bought this past year (3 garbage bags full for those who are thinking back to how many formula cans they used for their babies). I KNOW those cans are good for something. I have a few around my house for paint or cleaning. F.Y.I. they hold water really well.
I wanted the party favors to be useful and memorable ( I hate waste), and these were perfect. I went to Michael's Crafts and bought or had around the house already:
  • 5 color pack of card stock paper in the colors of the party.
  • A circle punch.
  • 3M Multi-Purpose spray Adhesive
  • A bottle of Elmer's glue
  • Small Formula Cans (12.9 oz)
  • Scissors
  • Ruler


Take a formula can and strip off the label, I kept the lids for some other project and threw away the scoops. Wipe the inside clean.


Take a piece of card stock and wrap around the can just under the silver lining. Make two small marks inside the lining otherwise the paper won't look right. Lay the paper flat and using a ruler draw a line, mark to mark and cut.


It should look something like this. But notice the big gaping hole? Just measure a small bit of the remaining paper to fill that in. This is a good time to use your cut paper as a template for however many cans you are going to decorate. Please ignore the uneven cutting I made on this example can. I forgot to take pictures while I was making them originally.


Spray the card stock lightly to make it tacky, on the side you see the cut marks on, and immediately apply to the can. Do the same for the filler piece or just use Elmer's glue.

Cut out your dots in different colors and glue all over. You can use dots of different sizes to make it look silly and fun. Or cut the punched out circles into spirals?

I had two "rules,"the can couldn't have dots the same color as the background color and at least 2 dots had to be cut and glued on to it so it looked as if they were continuing off the edges. I used between 11-14 dots per can.


The party cans I had are filled with yellow Easter grass, candy (the good kind!), homemade chocolate covered Oreo's, squirt guns, noise makers, and magic straws!

When all the goodies are gone, these cans can be used for other purposes in the home and our guests will always remember the fun they had.

Tuesday, July 6, 2010

Ribbon Flower Wreath

I've been checking out the other blogs out there in blogland and I came across http://frugalflourish.blogspot.com/ where Jess took a great idea from Martha Stewart's site to make some cute patriotic napkin rings
but changed this project around a bit and wanted to make some cute flowers for her welcome wreath on her front door. http://frugalflourish.blogspot.com/2010/06/creating-ribbon-flower-wreath.html/2010/06/creating-ribbon-flower-wreath.html
Cute huh?

With my son's birthday a few days away (it's polka dot themed) I thought it would do the same idea for our front door.

So I ran out and bought some $1 ribbon out of the Micheal's bins and my lovely grapevine wreath ($2 after my coupon :)).

I cut my ribbon 15" long

Thread a needle with any color thread (since you won't be able to see it when done) and put aside for a minute. Take your ribbon and begin folding it accordian style, keep it pinched together on one end. Thread through all the loops through the part that you're pinching. I pulled the thread taut and tied a knot.


Because I used 5/8 in ribbon (you really need like 1/2in or 1in+) my polka dots came out looking more like flowers. So I fanned the ribbon out and they still looked good.

I used Jess's idea of using a bobby pin to secure the flower to my wreath.

Ta-da! Beautiful... I will probably add a bunch more later but the baby is crying, got to go!