Showing posts with label potluck. Show all posts

Tuesday, October 18, 2011

Pot to Crock: Italian Chicken and Onions

I am starting a new set of recipes called "Pot to Crock." Definiton: Start with one pot and cook in the crockpot, and done! 

I own a crockpot but hardly use it. I know some of our bloggers out there live by them and are hardcore believers. I see them as lazy cooking (sorry!).
The food tastes blander, vegetables all end up tasting the same instead of having their own character flavor. I am not a fan.

But, I decided to give it a go and for the rest of the year I'm dedicating at least 2 nights a month to experimenting and creating crockpot meals that I, (and my tastebuds) can approve of.

Starting with this one:


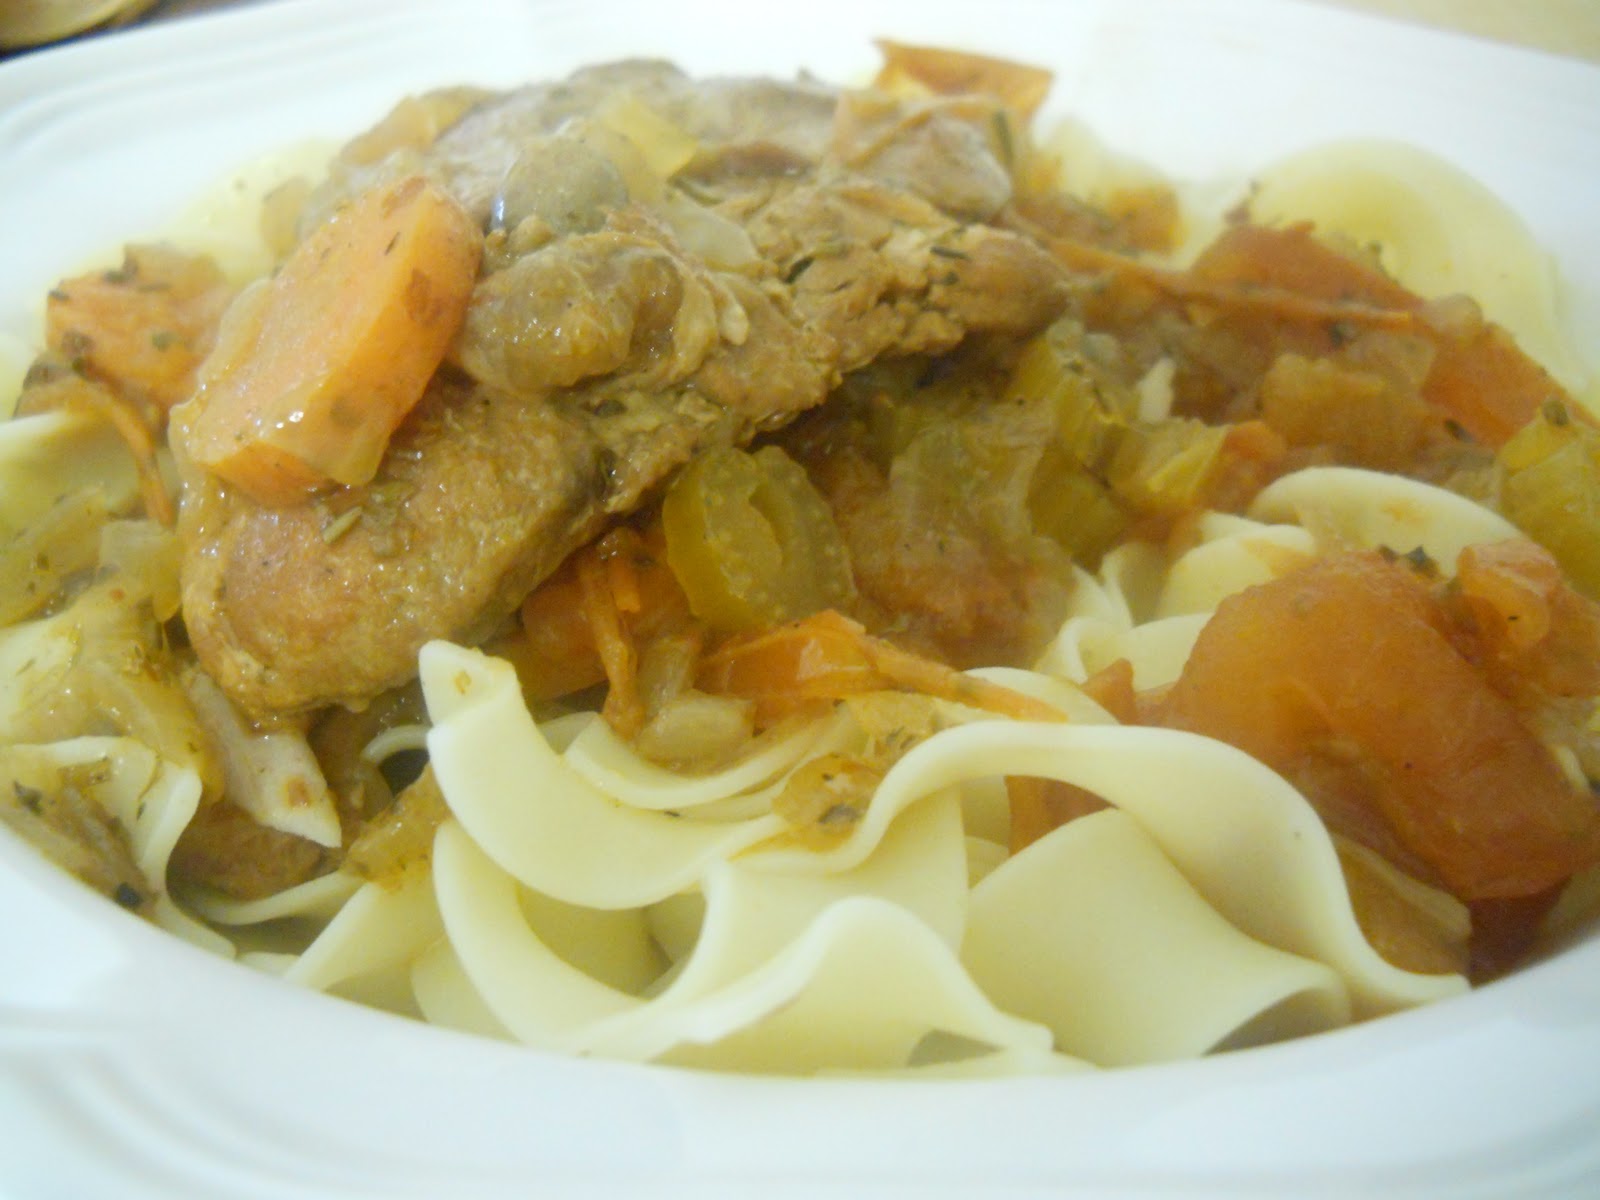
Italian Chicken and Onions                           Serves: 6-8
Inspired by SkinnyTaste

6-12 chicken thighs and drumsticks (or one picnic pack)
salt and fresh black pepper
1/2 tbl rosemary, dried 
1/2 tbl marjoram, dried
1/2 tsp sage, ground
2 tbl olive oil
1 large yellow onion, finely chopped
4 garlic cloves, chopped
2 celery stalk, chopped
1 carrot, chopped into coins
pinch red pepper flakes (optional)
1/4 cup white or blush wine
2 cups low sodium, fat free chicken broth
4 ripe tomatoes, slices then quartered
1/2 tbl bay leaf, crushed
1 package of Egg Noodles (Optional)

Do all your prep work first!


1. Season the chicken with salt and pepper. Place a large heavy pot on medium-high heat. Add 1 tbl olive oil then add the chicken and sear until browned on all sides, about 6-7 minutes on each side. Cook about 4-6 pieces at a time. Move chicken to the crockpot.

2. In the same large pot, drain any remaining chicken fat and sauté garlic, onions, and all the spices in remaining oil. Saute until golden, about 3 minutes. Add chopped celery and carrots and saute until soft. Add the wine and chicken broth, scraping any caramelized bits from the bottom. Pour over chicken in crockpot.

3. In the same large pot, add chopped tomatoes and bay leaves, cook until tomatoes are soft and begin to break down. Add to crockpot and stir all together, moving some chicken pieces from the bottom.

4. Cover with lid and cook on low for 4-6 hours taking the lid off the last 30 minutes so some of the juices can evaporate out.

5. In the same pot, boil egg noodles according to the package directions. Serve with noodles or fresh warm bread.

Using SparkPeople Calculator: 136 calories per serving.  (If serving 8, noodles not included in calculation)

Thursday, October 13, 2011

Indian Beans

I don't know why this is called Indian Beans. I did some research online and it took me all over the place looking at Middle Eastern, Native American, Northern Indian, Southern Indian, South Asia Indian, and even the Cleveland Indians! All were different, none with exactly the same ingredients....so, I'll just leave it as is.

All I know is it looked like baked beans. I wanted to eat something with beans and it was easy. After eating it, found out it's delicious and very filling! Yum!


Indian Beans              Serves 10

1 c Pinto beans; dried
1 c Kidney beans, dried
2 qt Water
2 Roma or small Tomatoes
1/2 lg Onion; chopped
4 slices Bacon; cut in 2" pieces
1/4 c Celery; sliced
1-2 ts Salt
3 tb Sugar
1-1 1/2 tb Vinegar
Small corn tortillas
Mozzarella cheese

1.Wash beans; place in 3 qt. kettle with 2 qts. water and bring to a simmer. Cover; cook 2 1/2-3 hours, or until tender. Drain and place in a 2 quart baking/casserole dish.

2. Mix remaining ingredients with beans; cover and bake at 350F  1 to 2 hours or until done. Remove beans from oven, stir.

3. Using a flat pan, turn on stove top to medium and heat tortilla until soft, flipping once. Sprinkle cheese on tortilla and let melt slightly. Top with beans.

4. Enjoy.

Calories are about 228 per serving, figured using Spark recipes calculator

Tuesday, October 11, 2011

Toasted Corn and Bean salad

I really wanted to make something with beans the last few days since my successful Black Bean burgers were eaten so fast. I decided to go with Pinto since I had bags of the things given to me. I soaked about 2 cups so I have enough left over to make something else tomorrow!

I also wanted a salad since I had two heads of lettuce calling to me to be eaten.

Looking around I found a lot of great recipes, and this one is adapted from The Taste Space. Enjoy!

It's a very yummy dish that can be adapted with any mix of spice that you want. I went for a more Southwestern flavor (corn...beans...seemed right to me). But play around with it and make it your own.


Toasted Corn and Bean Salad

1 cup dried pinto beans soaked overnight and rinsed (or 2 cups canned beans)
1 bay leaf or a tsp of dried bay leaf pieces
2 cups fresh corn kernels (from 2 ears of corn)
1 tbl garlic
1 tbl butter
1 c yellow onion, chopped
1 green bell pepper, chopped
2 roma tomatoes, roughly chopped
2 tsp chopped fresh thyme or cilantro
1 tsp ground cumin
1/4 tsp chili powder
salt and pepper to taste
6-12 lettuce leaves
Optional: lime juice sprinkled on top just before serving

1. Place beans with enough water to cover by 1-2″ of water. Add bay leaf and bring to a boil. Reduce heat; simmer gently. Cook, stirring occasionally, until beans are tender, about 40 minutes. Drain, and transfer to a bowl. Add cumin and chili; mix.

2. Heat a large, heavy non-stick skillet over medium-high heat, and add corn. Cook, stirring occasionally, until corn begins to brown, 4 to 5 minutes. Add garlic, and cook, stirring frequently, until corn is browned and begins to pop, another 3 to 4 minutes. Add to beans in the bowl.

3. Return skillet to medium-high heat, and melt butter. Add onions and bell peppers, sauteeing them until onion turns slightly yellow and bell pepper is slightly tender but still firm. Add to bean and corn in the bowl. 

4. Return skillet to medium-high heat, and add one tsp of olive oil. Add tomatoes, in a single layer, and thyme. Cook, until soft and beginning to juice, 6 to 7 minutes.

5. Add tomatoes to the bean mixture in the bowl and toss together. Spoon warm or cold over lettuce, and serve.

I enjoyed eating this as a wrap. Altogether very filling and very good for you. I can see making this for a potluck or a luncheon as a great side dish.

Serves 6.

Friday, October 8, 2010

Under the Sea Salad

I can't believe I haven't shared this recipe with everyone yet! It is the most popular dish I have ever taken to a potluck and friends are e-mailing me all the time asking "what did you call that delicious Jell-o dish again?"

Don't be fooled by it's strange appearance, this Jell-o salad is sweet and refreshing on hot days. Its strange look and layers have people asking you, "What is this?" But, after one bite I can guarantee they'll be asking for the recipe or headed for seconds!


Under the Sea Salad  
The salad is supposed to look like the ocean. Green waters underneath, shells with "pearls" and foam waves on top.

2 6oz boxes of Lime Green Jell-o (Sugar Free is OK)
2 boxes of cream cheese
1 Lg can of Pear Halves
1 jar of maraschino cherries
Refrigerator room, 4 c measuring bowl, sheet cake pan, electric mixer

I ate the cherry out of this one before the picture :)
  1. Take cream cheese out to let set to room temperature. Make one box of Jell-o according to the package, making sure the Jell-o is completely dissolved. Pour into a 10"x14"x1.5" cake pan (if the pan is metal it will keep the Jell-o colder longer).
  2. Open can of pears and reserve juice (approx 1-1.5c), gently place one cherry in the pit of each pear and place face down in the warm Jell-o. 
  3. Place in the fridge and allow to firm up 3 hours, you want the Jell-o to stand up, but still be a bit tacky on the top.
  4. In a large bowl or stand up mixer, place in both cream cheese blocks. Mix a few seconds with beaters or the whisk attachment (I do not recommend that you do any of the mixing by hand, as you will end up with chunks of cream cheese and not the nice look you'd want). Add the pear juice, whisk. Mix your remaining Jell-o box with 2 cups of hot water and dissolve well, then slowly pour into the cream cheese mixture. Whisk or beat the liquid until the cream cheese breaks up into little circles and starts to look "foamy," about 2 minutes.
  5. Pour mixture over the pre-made Jell-o and place back in the fridge. Let salad set for about 4 hours. 
  6. Cut into 3 inch squares and serve!
See the "sea and foam"?

*Note: If you decide that you don't want to use Lime flavor, I highly suggest you try this with other strong flavors that would pair well with cream cheese and fruit. I have tried this recipe with Strawberry Jell-o and it was really good too. But, I usually stay pure and true to the Lime. 

I like my "sea" green.